July 17th, 2015 by Andrew
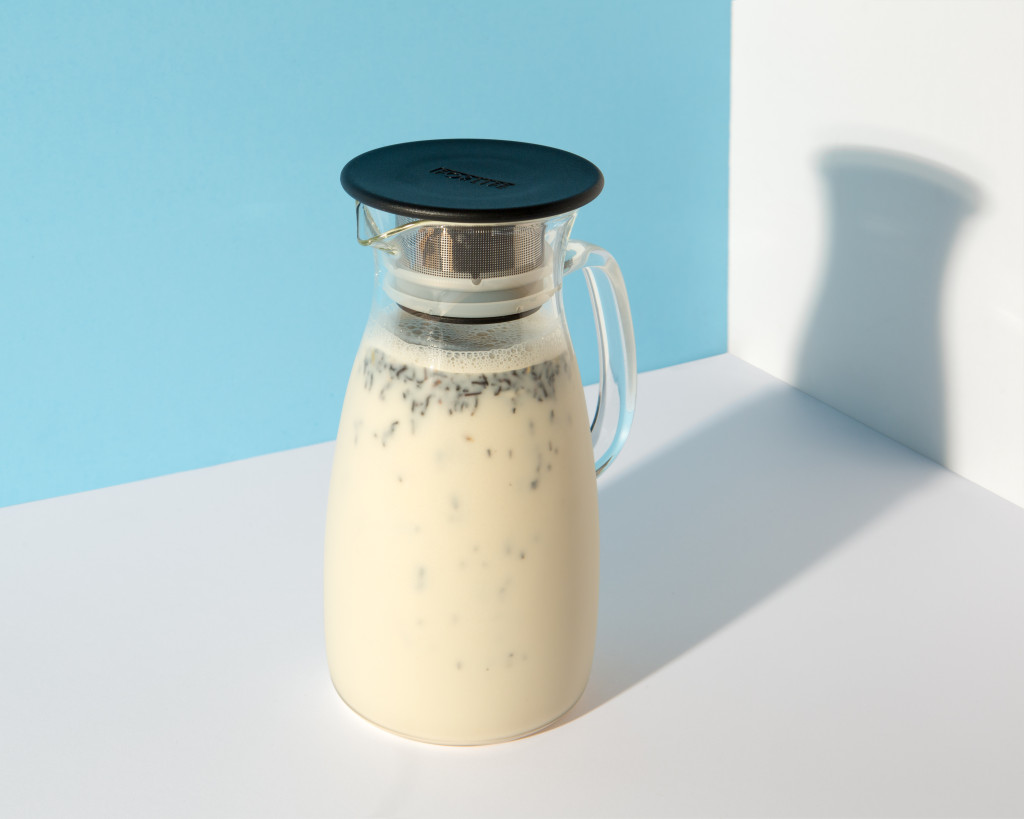
Most of the recipes we try in our kitchen/laboratory here are a combination of ideas and flavors we love. Flavored almond milk, cold-steeped iced tea, and spiced tea lattes are things that make the world better, and we decided to bring them together to form a super-beverage: almond milk flavored with loose leaf tea, cold-steeped overnight.
We’ve tried this with flavored black and green teas. Our personal favorite for this treat is Earl Grey. Cold-steeped overnight (12 hours), the flavor is perfect. Serve right away, or strain into a second container to store. Enjoy it over ice, or steam it and drink it latte-style.
What you’ll need
Iced tea jug and strainer (we used a 34 oz Mist Iced Tea Jug which has a strainer built in for loose leaf tea)
4 tablespoons loose leaf tea
34 ounces almond milk (unsweetened or sweetened, depending on your preference)
Instructions
Add the almond milk to your jug, followed by the tea, give it a stir and refrigerate, covered, for 12 hours or overnight. Serve immediately or strain and store refrigerated.
Experiment with this recipe! Try it with rice milk, coconut milk, hemp milk — whatever you like. Experiment with honey, agave nectar, or other sweeteners. Let us know what works!

Tags: chai latte, chai tea, chai tea latte, coconut milk, cold steeped, cold steeping, flavored almond milk, flavored milk, flavoring almond milk, hemp milk, homemade almond milk, iced latte, iced tea, iced tea jug, latte, loose leaf iced tea, nut milk, rice milk, soy milk, tea recipe
Posted in Recipes, Tea Accessories, Uncategorized | Comments Off on Cold Steeped Almond Tea
July 14th, 2015 by Andrew
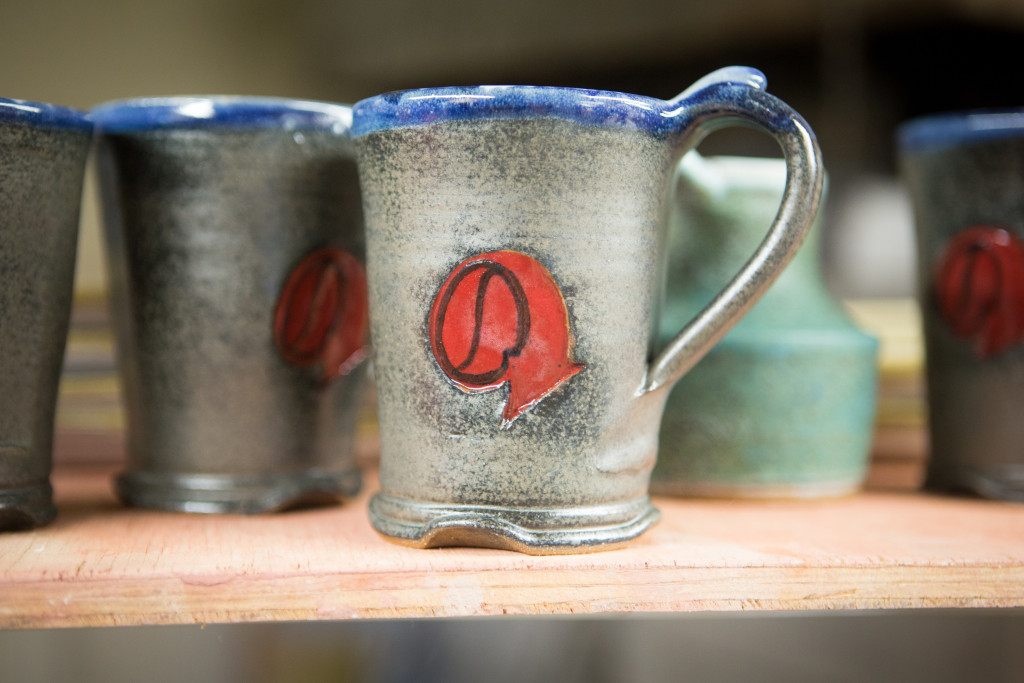
It’s been a while since we’ve carried a Coffee Bean Direct mug, but we recently updated our bean and arrow logo and decided to celebrate with a new mug design. Our durable and beautiful Artisan stoneware mugs are for you lovers of things rustic, beautifully imperfect, and one of a kind. Here’s our first batch, fresh from the kiln at Goose Creek Pottery in Rosemont, NJ, where potter Ted Green makes each wheel-thrown mug, one at a time.

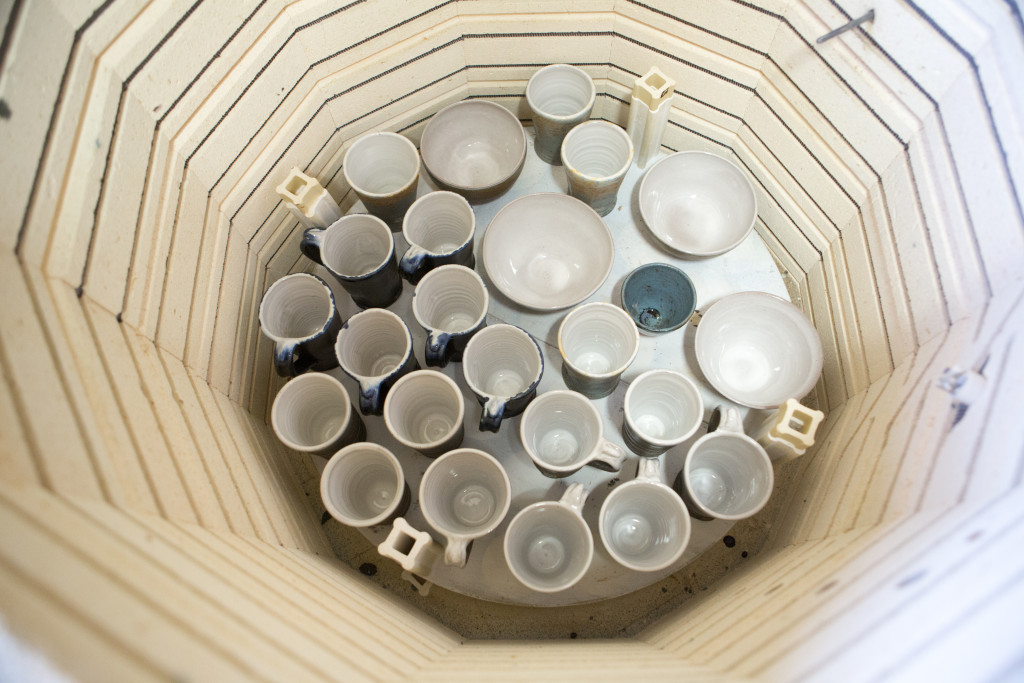
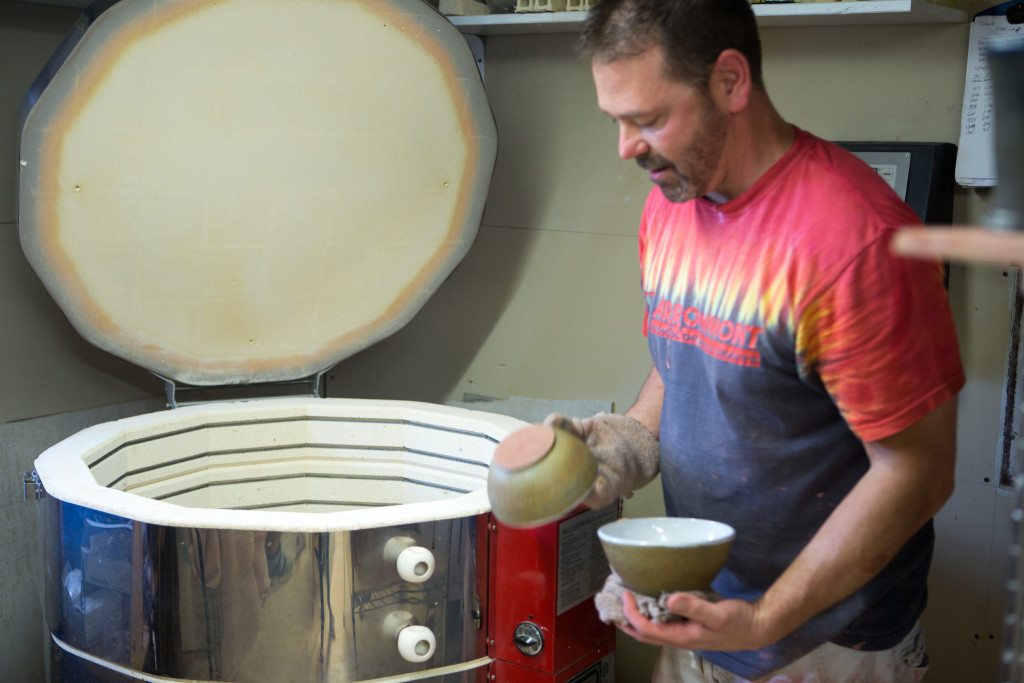
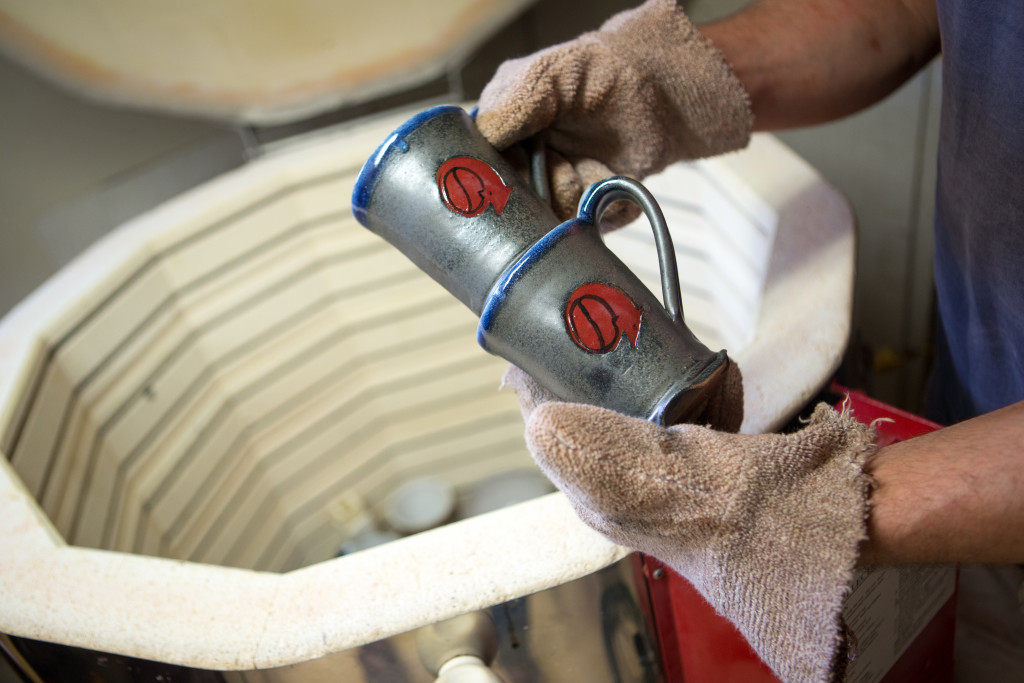
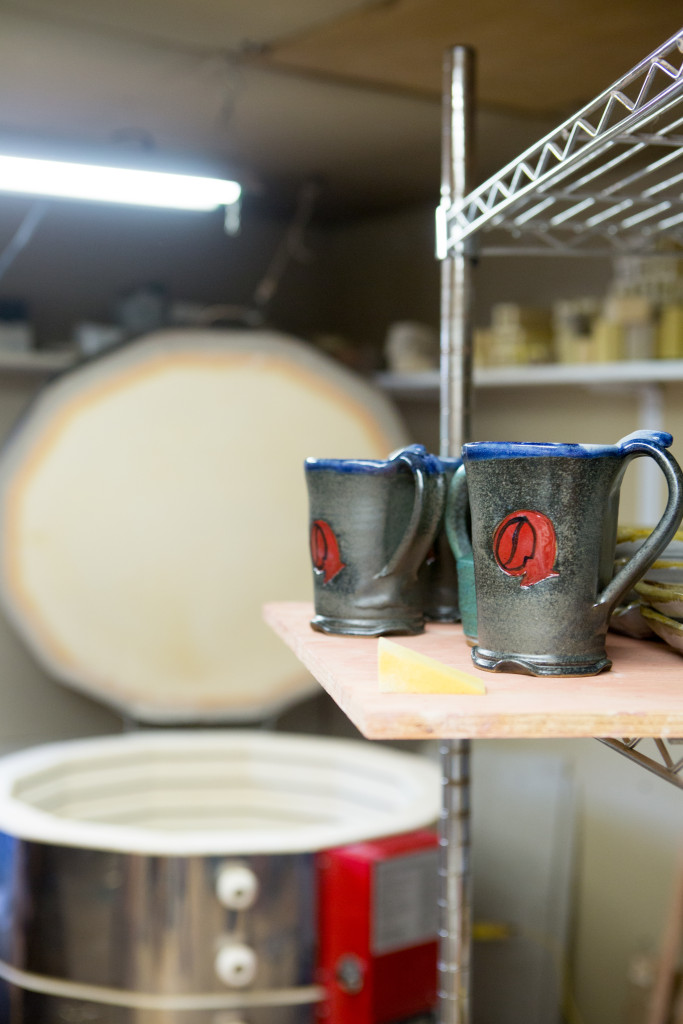
These mugs are a labor of love and made by hand. As a result, they vary slightly in size and glaze pattern. Dishwasher and microwave safe, they are functional works of art, worthy of our fresh-roasted best!

Tags: artisan, coffee mug, Goose Creek Pottery, handmade, mug, new mug, pottery, stoneware
Posted in Behind the Scenes, Coffee Accessories | Comments Off on Fresh From the Kiln: Our New Artisan Mugs
July 2nd, 2015 by Andrew

Infusing alcohol is a creative way to put a personal stamp on your favorite cocktail recipes and preserve the flavor of the season’s glorious fruits, herbs, and flowers. Enjoy your infusions all summer long or reward your shoveling in February with the taste of sunshine.
While fresh ingredients take days or even weeks to fully infuse, tea and spice infusions reach their best flavor fairly quickly and make a great place to start. Vodka’s neutral flavor makes it pretty foolproof as far adding ingredients goes. When choosing a base for your infusion, keep in mind that a higher alcohol content will increase the extraction power. High proof spirits (100 proof or higher) are diluted with water to a drinkable level once the infusion is complete. If you’re sticking to tea, which infuses easily, a lower alcohol (80 proof) content is perfectly fine, no dilution required.
What you’ll need
Vodka, 80 proof. We use Grey Goose, because we like to be fancy, it’s very drinkable infused, and because of the word Grey.
Loose leaf Earl Grey black tea. We also offer an organic version, but conducted our experiment with our standard Earl Grey. Both use 100% real oil of bergamot, extracted from the rind of bergamot oranges.
A tea strainer. We used the Hook Handle Tea Infuser, a simple metal strainer. If you’re using a finer cut of tea, you may want to strain the infusion through a coffee filter.
The Ratio
For every 1 cup of vodka, we added 1 teaspoon of loose leaf tea.
The Method
Add your desired amount of vodka and tea, in the ratio above, to a mason jar or other sealable container. Add the lid and shake to combine. Let it sit in a cool place, away from light. The flavor should be just right at 12 hours, but you can definitely drink it much earlier. After just a few hours the vodka will be tasty, but the bergamot flavor dominates. It takes a longer time for the black tea flavor to emerge, and it’s worth waiting a few more hours for. Enjoy it cold, strained over ice, make yourself a martini, or try it with grapefruit soda (the earl greyhound).

Tags: black tea, cocktail, cocktails, earl grey, earl grey goose, earl grey recipe. earl grey cocktail, earl greyhound, infuse, infusion, loose leaf, martini, vodka
Posted in Information, Recipes | Comments Off on Earl Grey Goose: Infusing Vodka with Loose Leaf Tea
June 22nd, 2015 by Andrew
- 2-1/2 cups flour
- 2/3 cup + 3 tbsp cocoa powder
- 2 tsp baking powder
- 2 tsp baking soda
- Pinch of salt
- 2 cups sugar
- 2 large eggs (room temperature)
- 1-1/3 cup sour cream (room temperature)
- 1/2 cup (one stick) butter, melted
- 2/3 cup + 3 tbsp boiling water
- 17.5 oz mascarpone cheese
- 6-8 tablespoons confectioners’ sugar
- 2/3 cup + 3 tablespoons cup heavy whipping cream
- Heat an oven to 350 F. Grease and line three 7 inch cake pans.
- In a large bowl, sift together the flour, cocoa, baking powder, soda and salt. Stir to combine.
- Add the sugar, eggs, sour cream, butter and hot water. Stir gently until the batter is uniform and smooth.
- Divide between the three prepared cake pans.
- Bake for 25-30 minutes then let the cakes cool in their pans for 10 minutes before inverting onto a cooling rack. Let the cakes cool completely before leveling any domed tops and assembling.
- Beat the mascarpone and confectioners’ sugar until creamy. Add the cream and whip until thickened and spreadable, being carefully not to over whip and split the mixture.
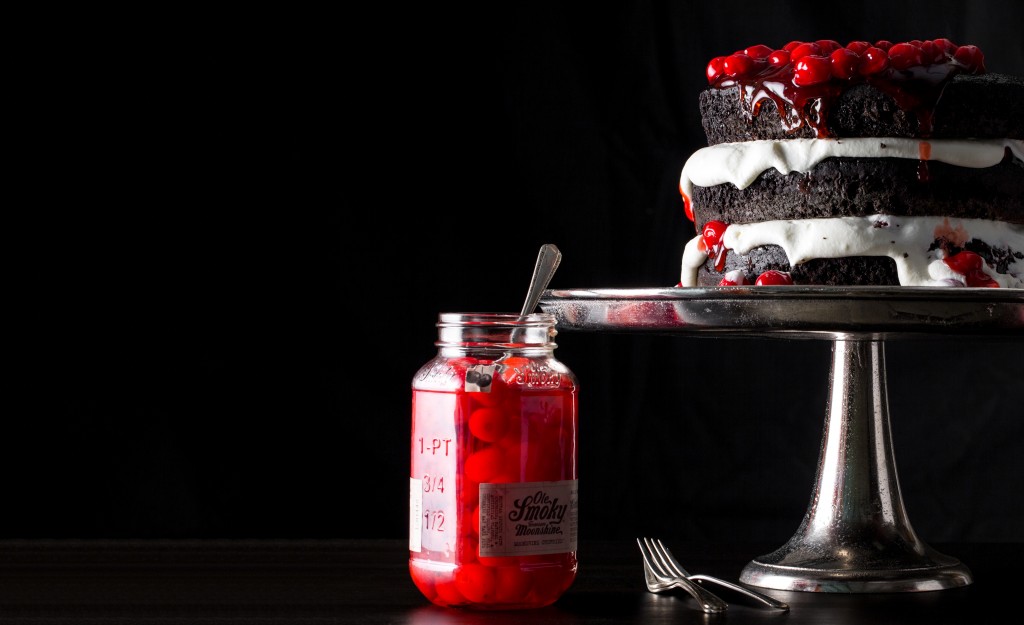
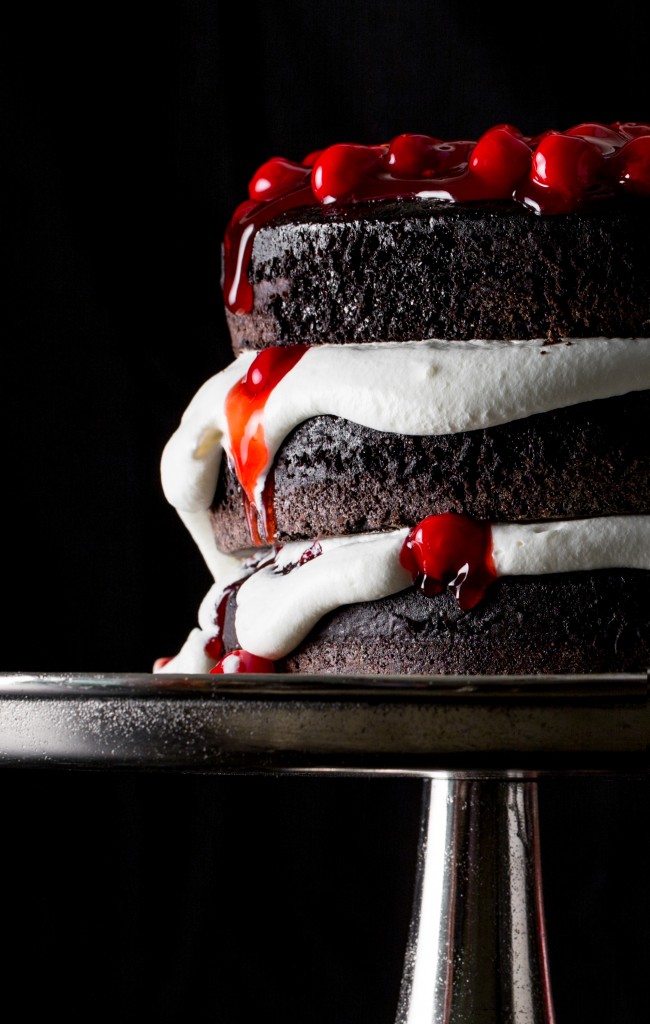
- Place the first cake layer on a serving platter. Spread a thick layer of the mascarpone cream frosting on-top. Place cherry topping over the frosting and gently press in to indent.
- Place the second cake layer over the first and repeat the layering process as before.
- Top with the third cake layer. Decorate with a generous amount of cherry filling, adding some moonshine cherries (recommended) to the mix. Refrigerator before serving.

Tags: black forest, black forest cake, cake, cherries, cherry chocolate cake, chocolate, Coffee, dessert, flavor, moonshine, recipe, whipped cream
Posted in New Coffee, Recipes | Comments Off on Behind the Flavor: Black Forest Cake
June 19th, 2015 by Andrew
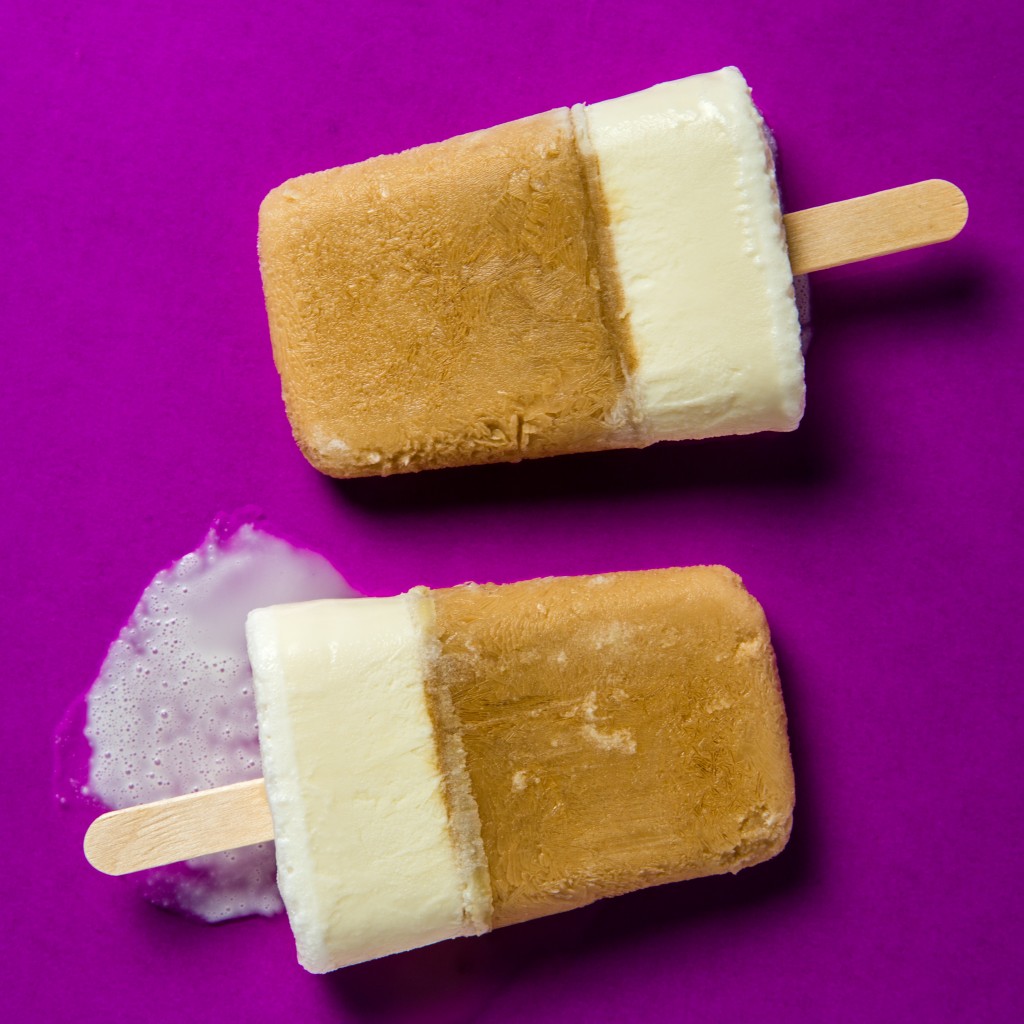
Combining rich coffee with sweetened condensed milk, Vietnamese iced coffee can quickly become a habit in the summer. The traditional recipe uses a Vietnamese press, which brews a single serving of strong coffee into a glass containing sweetened condensed milk. Pour the mixture over ice and you’ve got something magical.
I’ve always thought this would be a fantastic ice cream flavor, but heat makes me lazy, and all that stirring sounds like hard labor. Popsicles to the rescue. Sweetened condensed milk is blended throughout the top and bottom layers of this recipe, so you get a nice mix of the coffee and sweet cream flavor at the top, finishing off with a little vanilla at the bottom.
What you’ll need
Popsicle molds for 12 pops
2 cups of cold dark coffee (we used our French Roast coffee, brewed in a French press and cooled)
1- 14 ounce can sweetened condensed milk
1/4 tsp vanilla extract
1-1/2 cups heavy cream
Non-stick cooking spray (optional)
Directions
- Whisk the cold coffee and 2/3 cup of sweetened condensed milk together in a bowl and pour the mixture into your molds until each is about 3/4 full.*
- Freeze for 2 hours or until the mixture is slushy, but frozen enough to hold a popsicle stick. The harder first layer is, the better the separation will be. A slightly softer layer will create a swirl effect, which is just as delicious.
- In the meantime, mix together 6 tablespoons of the sweetened condensed milk, 1/4 teaspoon vanilla and 1-1/2 cups of the heavy cream.
- Fill the remaining space in the molds with the cream mixture (you may have a little left over, depending on the size of the mold).
- Freeze until very solid. Sweetened condensed milk takes a while to harden. Let it sit overnight or longer.
* A word about popsicle molds:
Having a stick come out in your hand while the rest of your frozen treat remains stuck in the mold is a frustration no one should have to suffer ever. I recommend silicone molds, but managed to have success with the old-fashioned plastic kind by spraying a little non-stick cooking spray inside before adding the coffee/milk mixture.
If that idea grosses you out, you can also dip the frozen pops in a bowl of warm water for 30 seconds or longer before pulling the sticks gently. I recommend doing that anyway, spray or no spray. While they are an awkward shape to eat, Dixie cup pops might be the simplest method of all. Simply peel the paper off, no tugging (or heartbreak) required.

Tags: Coffee, french press, french roast, Iced Coffee, pops, popsicles, Vietnamese coffee, vietnamese iced coffee
Posted in Recipes | Comments Off on Vietnamese Coffee Pops Recipe


