National Brownie Day
Friday, December 7th, 2018 by Andrew Esserman
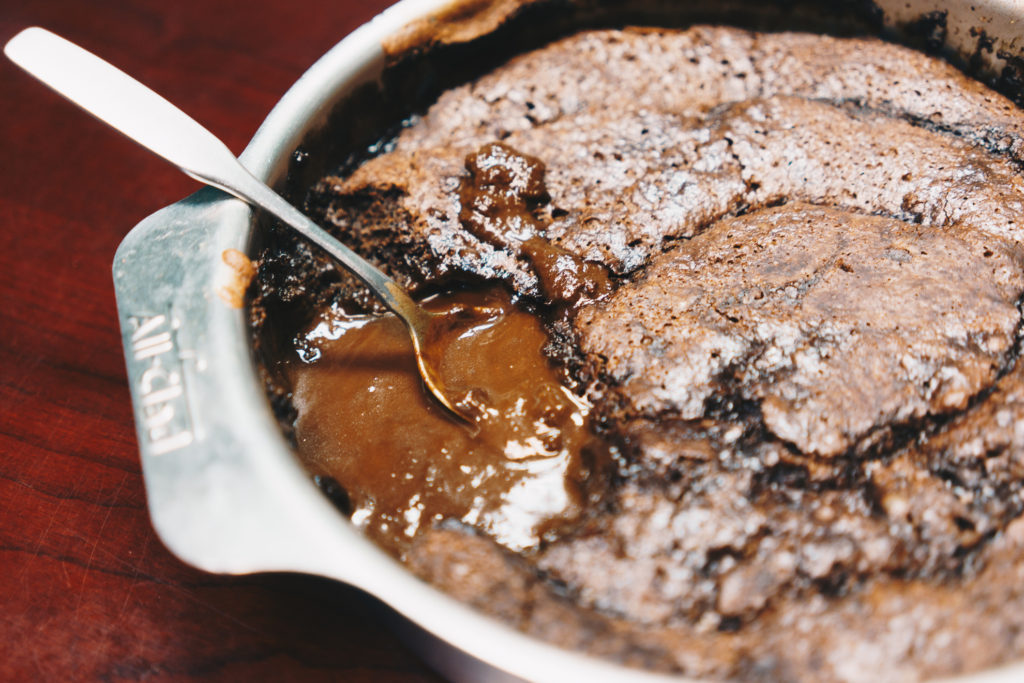
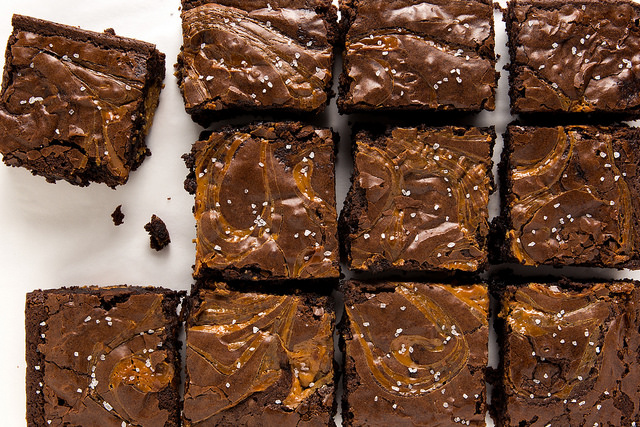
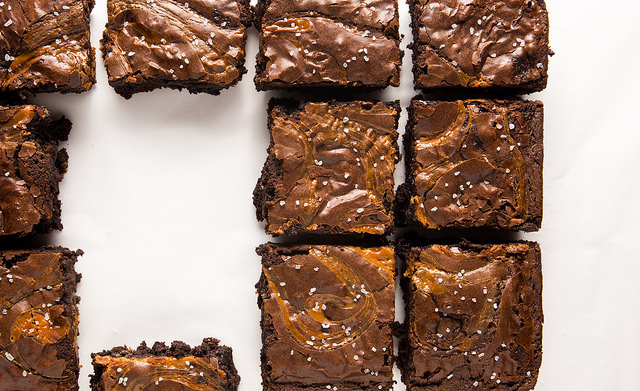
There’s something really satisfying about being thrifty. I’m one of those people that responds to compliments on my attire with a “I dug this out of the clearance bin!” Ok, I’m not that crazy about a deal, but almost. I’ll admit, I’ve purchased clothing at 5 Below- it was a “Mo’ Mummies, Mo’ Problems” Halloween shirt. I just had to! One of my favorite ways to save a penny and pat myself on the back is to repurpose items I no longer have use for. I do it with furniture and clothing from time to time, but it manifests most often with food. I hate wasting, so I’ll throw leftover bacon in a frittata or season last nights’ chicken for tonight’s tacos. With National Brownie Day on the mind, I came up with what could quite possibly be my best Frankenstein thus for: Sea Salt Caramel Mocha Brownies with real brewed coffee!
We do a lot of coffee drinking during the work day, as I’m sure many of you do. How could we not with endless fresh roasted coffee at our fingertips? The daily dilemma I encounter coincides with my 3pm slump. I’ve still got a full two hours to go and dinner definitely isn’t making itself. “Should I make fresh coffee?” I ask myself. “Will anyone else drink it?” I torture myself over this for a while and walk around to see if anyone will coerce me into doing what I want to do. The desire for coffee inevitably wins but sometimes there is half a pot left as I gather my belongings to leave for the day. This time around, I poured the leftovers into a pitcher and left it in the fridge overnight. I had a brownie recipe on my mind!
I grew up with foodie parents and cooking shows were a primary source of entertainment in our household. I watched a lot of “The Urban Peasant,” where frugality and functionality were incorporated into devising recipes. James Barber looked for ways to spice up and reinvent household items in creative combinations. I saw a lot of like-minded chefs during my first year at Coffee Bean Direct. In our annual chili cookoff, many of the contestants used coffee and tea in their recipes. Not only were my coworkers amazing cooks but they introduced me to the world of Coffee Chili, Chai Chili, and a plethora of inexpensive, flavorful, nuanced dishes. They obliterated my stodgy notion that coffee and tea belong in your mug. You’re telling me I can fuse caffeine into my lunch? Mind blown.
I have to admit, I get a little thrill whenever I find a deal. I laugh wickedly when I arrive at friends houses with homemade caramel lattes and they asked me where I stopped. I save my time and money with shameless amusement. No $5 drinks for this girl! I’m addicted to finding a good deal. It only took a single taste test for me to know I had stumbled upon genius with this Sea Salt Caramel Mocha recipe. Feel free to use flavored coffee if you want to push the envelope. I used our Colombian Supremo, brewed strong, but any leftover coffee will do! You just want to make sure it’s at least slightly cooled before you mix it into your ingredients.
Do yourself a favor and brew that extra pot. The more leftover coffee you have, the more you basically have to bake these mouthwatering brownies. I mean you could just throw your leftover coffee out. But that’s like pouring potential happiness down the drain. Don’t wonder what would’ve been. You’re better than that.
Brew, bake, and celebrate! Let us know how it turned out in the comments below.
Ingredients
1 cup butter
8 ounces bittersweet chocolate, coarsely chopped
3 ounces semisweet chocolate, coarsely chopped
4 eggs, lightly beaten
3/4 cup granulated sugar
3/4 cup packed brown sugar
1/2 cup of caramel bits
about 2 tsp sea salt
1/4 cup strong brewed coffee
2 teaspoons vanilla
1 cup all-purpose flour
1 1/2 teaspoons baking powder
1/2 teaspoon salt
1 -3 teaspoons strong brewed coffee
Directions
Line a 13x9x2-inch baking pan with heavy foil, extending foil over edges of the pan. Butter the foil; set pan aside.
In a heavy large saucepan, heat 1 cup butter and chocolates over low heat, stirring constantly, until chocolate is melted and smooth. Set aside to cool slightly. In a medium bowl, stir together eggs, granulated sugar, brown sugar, coffee and vanilla. Stir into warm chocolate mixture; cool to room temperature.
In a small bowl, stir together flour, baking powder and salt. Fold flour mixture into chocolate mixture. Spread the batter in the prepared pan.
Bake in a 350 degrees oven for 35 to 40 minutes or until brownies appear shiny, begin to crack on top and appear set. (Do not overbake.)
Stir in the caramel bits. Drop the sea salt all over the top of the batter, a pinch at a time.
Cool completely in pan on a wire rack; then cut into bars.