Dirty Chai Blog Post
Monday, October 29th, 2018 by Andrew

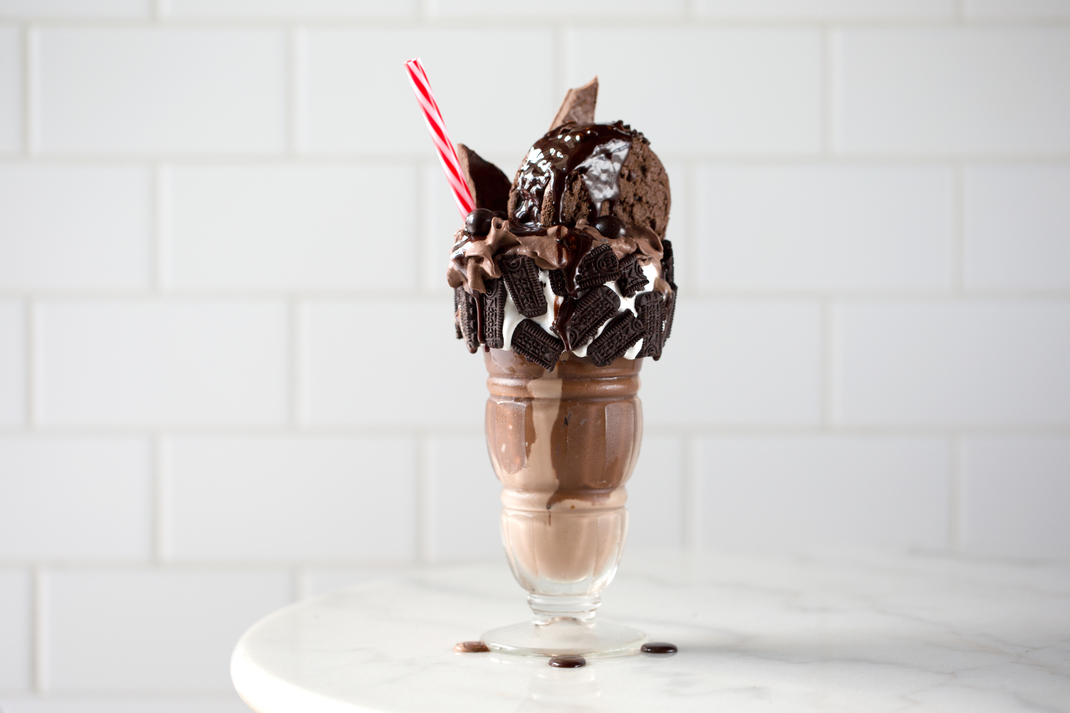
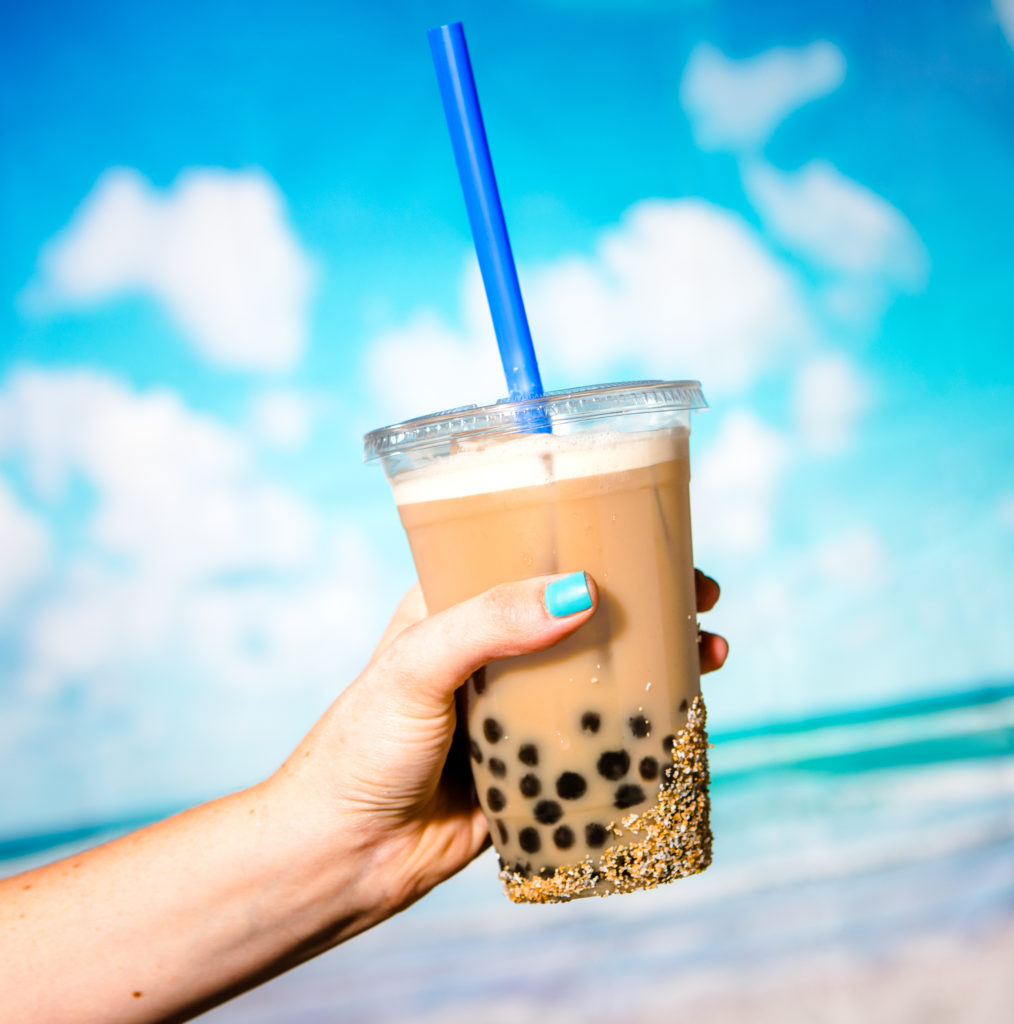
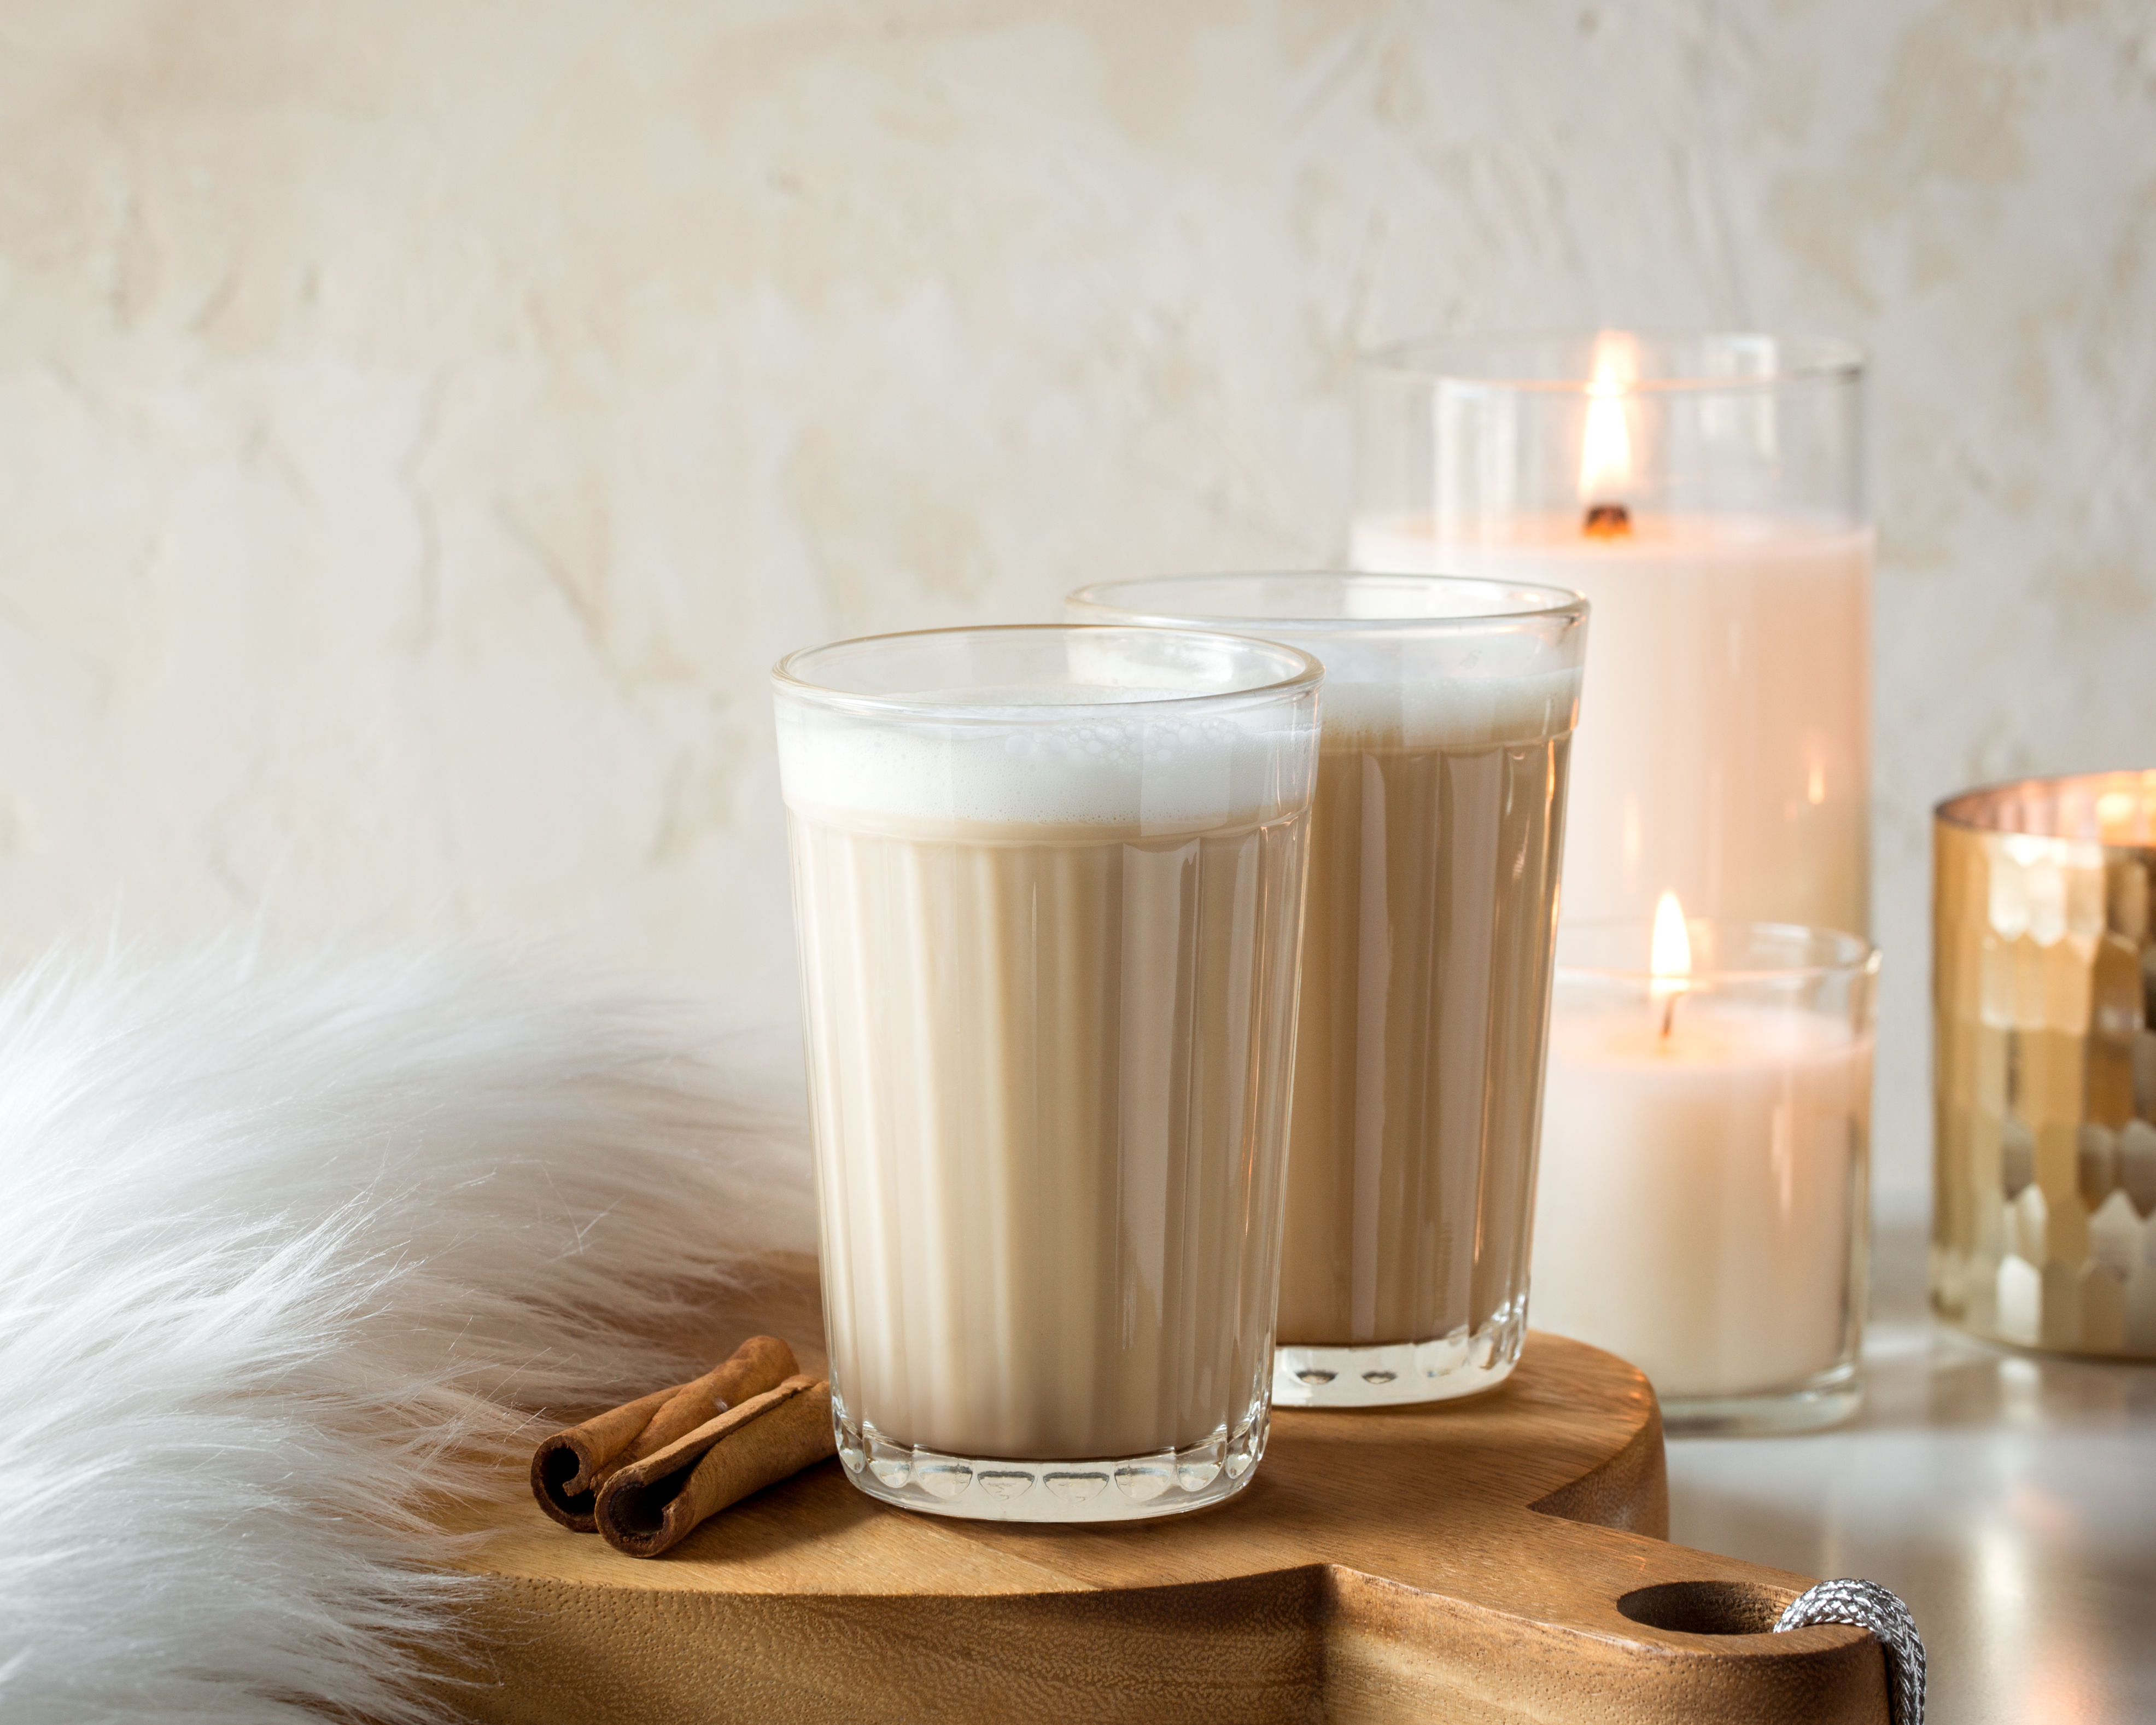
People are passionate about their beverages. We want them flavorful, pretty, fresh, and inexpensive. We need them fast, in the biggest cup you’ve got, with our choice of milk, and a generous dash of whip. Remember those multicolored pastel drinks that were all the rage? What about freakshakes, the mother of all milkshakes, topped with every confection imaginable? People are having fun with their drinks, and we are on board. One of our favorite trends these days is the Dirty Chai Tea Latte. You can have all the warm, spicy flavors of chai without sacrificing the essential, revitalizing joy that is coffee. Basically, you can have your cake and eat it too. Bonus: you can make it at home!
Some of the best innovations come from necessity. We’ve all made those “I really need to go food shopping but I don’t feel like it” meals. You stare into your bare cabinets and try to figure out how you can work those pitiful, mismatched ingredients into something edible. There are entire cookbooks on the subject matter. Scarcity can turn anyone into an innovator.
The aromatic tea we know and love was born in tougher times. Masala Chai is a Hindi term that translates to “mixed-spice tea”. In the early 1900s, black tea was very expensive in India. Vendors used milk, sugar and spices to keep their brew flavorful while keeping costs down. To stimulate the sales of Indian tea, the British-owned Indian Tea Association encouraged big employers to offer tea breaks throughout the work day. They also encouraged chaiwalas, tea vendors, to sell their brew along the developing railway system.
Traditional Masala Chai used black tea, typically the local Assam or Ceylon, blended with real spices that varied based on region and availability. Chaiwalas became an important part of the culture and continue to exist all over India. They are one of the only consistent presences in a very diverse country, from lazy rural villages to busy cities streets. People from all walks of life flock to chaiwalas for a reprieve from the hustle and bustle of daily life. Over tea, you’ll see people congregate, night and day, discussing anything from politics to sports.
Masala Chai became popular in India, but it didn’t stop there. Over the pond it went, right to our local coffee shops and tea houses, in all its spicy, fragrant glory. Any trendy coffee shop will boast the “Best Dirty Chai,” but as DIY-ers, we subscribe to the philosophy that if you want something done right, you’ve got to do it yourself. A lot of cafes make their chai with a concentrated syrup or powder mix. This version fuses our own signature chai spices into the tea like the first chaiwalas. Those real ingredients add a richness and depth of flavor you can’t emulate with an artificial mix alone. You wouldn’t build a house with particle board. You have to go for the good stuff!
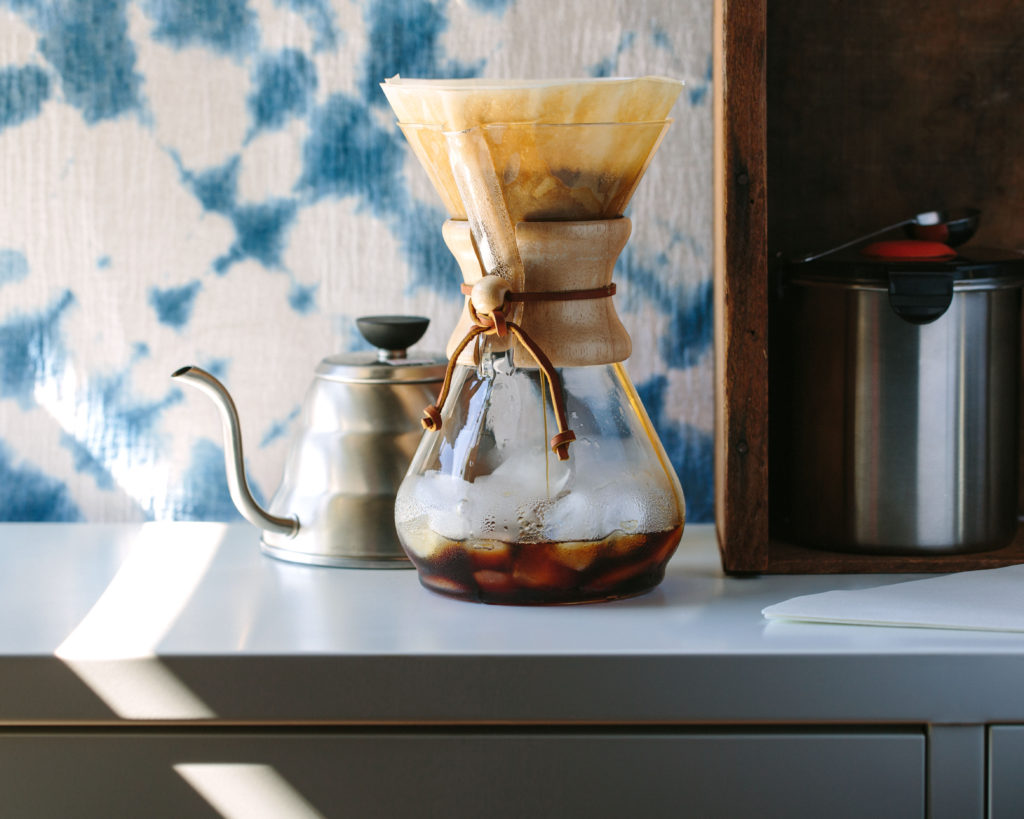
If you want the traditional Dirty Chai experience, brew up 2 shots of espresso – we love Godfather’s Italian Espresso for this drink. You can also strong brew any coffee of your choice. Typically, espresso drinks use a dark roast, but the beauty of doing it at home is that you get to choose. Your home will be filled with that sweet, spicy aroma in no time! Whether you’re brewing it by the cup or the pitcher, this decadent treat is as simple as it is tasty.
Give this recipe a try and let us know what you think in the comments below!
Ingredients
1-2 tbsp Spiced Chai tea
1/2 cup of water
1/3 cup of milk of your choice
1/2 cup of strong coffee or 2 shots espresso
2-3 tsp honey
1 drop vanilla extract
A dash of cinnamon
Directions:
1.) Prepare coffee or espresso
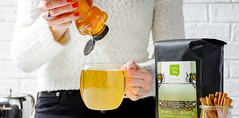
2.) Prepare chai by bringing water to boil, then pouring it over loose leaf tea in a tea strainer. Let steep for 5-10 minutes. Remove tea bag/tea container from tea.
3.) Add honey and a drop of vanilla to chai tea, stir in well
4.) Prepare milk by either heating it up in a pot on the stove or use a wand to steam
5.) Add milk to chai
6.) Add strong brewed coffee or espresso and a dash of cinnamon
People are passionate about their beverages. We want them flavorful, pretty, fresh, and inexpensive. We need them fast, in the biggest cup you’ve got, with our choice of milk, and a generous dash of whip. Remember those multicolored pastel drinks that were all the rage? What about freakshakes, the mother of all milkshakes, topped with every confection imaginable? People are having fun with their drinks, and we are on board. One of our favorite trends these days is the Dirty Chai Tea Latte. You can have all the warm, spicy flavors of chai without sacrificing the essential, revitalizing joy that is coffee. Basically, you can have your cake and eat it too. Bonus: you can make it at home!
Some of the best innovations come from necessity. We’ve all made those “I really need to go food shopping but I don’t feel like it” meals. You stare into your bare cabinets and try to figure out how you can work those pitiful, mismatched ingredients into something edible. There are entire cookbooks on the subject matter. Scarcity can turn anyone into an innovator.
The aromatic tea we know and love was born in tougher times. Masala Chai is a Hindi term that translates to “mixed-spice tea”. In the early 1900s, black tea was very expensive in India. Vendors used milk, sugar and spices to keep their brew flavorful while keeping costs down. To stimulate the sales of Indian tea, the British-owned Indian Tea Association encouraged big employers to offer tea breaks throughout the work day. They also encouraged chaiwalas, tea vendors, to sell their brew along the developing railway system.
Traditional Masala Chai used black tea, typically the local Assam or Ceylon, blended with real spices that varied based on region and availability. Chaiwalas became an important part of the culture and continue to exist all over India. They are one of the only consistent presences in a very diverse country, from lazy rural villages to busy cities streets. People from all walks of life flock to chaiwalas for a reprieve from the hustle and bustle of daily life. Over tea, you’ll see people congregate, night and day, discussing anything from politics to sports.
Masala Chai became popular in India, but it didn’t stop there. Over the pond it went, right to our local coffee shops and tea houses, in all its spicy, fragrant glory. Any trendy coffee shop will boast the “Best Dirty Chai,” but as DIY-ers, we subscribe to the philosophy that if you want something done right, you’ve got to do it yourself. A lot of cafes make their chai with a concentrated syrup or powder mix. This version fuses our own signature chai spices into the tea like the first chaiwalas. Those real ingredients add a richness and depth of flavor you can’t emulate with an artificial mix alone. You wouldn’t build a house with particle board. You have to go for the good stuff!
If you want the traditional Dirty Chai experience, brew up 2 shots of espresso – we love Godfather’s Italian Espresso for this drink. You can also strong brew any coffee of your choice. Typically, espresso drinks use a dark roast, but the beauty of doing it at home is that you get to choose. Your home will be filled with that sweet, spicy aroma in no time! Whether you’re brewing it by the cup or the pitcher, this decadent treat is as simple as it is tasty.
Give this recipe a try and let us know what you think in the comments below!
Ingredients
1-2 tbsp Spiced Chai tea
1/2 cup of water
1/3 cup of milk of your choice
1/2 cup of strong coffee or 2 shots espresso
2-3 tsp honey
1 drop vanilla extract
A dash of cinnamon
Directions:
1.) Prepare coffee or espresso
2.) Prepare chai by bringing water to boil, then pouring it over loose leaf tea in a tea strainer. Let steep for 5-10 minutes. Remove tea bag/tea container from tea.
3.) Add honey and a drop of vanilla to chai tea, stir in well
4.) Prepare milk by either heating it up in a pot on the stove or use a wand to steam
5.) Add milk to chai
6.) Add strong brewed coffee or espresso and a dash of cinnamon