Green Your Coffee Routine

Wednesday, April 18th, 2018 by

Good old Earth Day is rapidly approaching, and in our opinion, it totally deserves more than just one day of celebration a year. If we had it our way, it’d be Earth Day every day. That aside, there are numerous ways we can change how we live our lives day to day while also minimizing our footprint on the planet. You may be thinking that food has a large impact, but guess what else does? Coffee.

It’s easy to do something small. It may not seem like much, but when you think about it, your coffee routine can have a significant impact on our planet. Where do you buy it? How do you brew it? What are you drinking out of? But okay, enough of that. Let’s get to the good stuff! Here are a few tips on how to green your coffee routine.


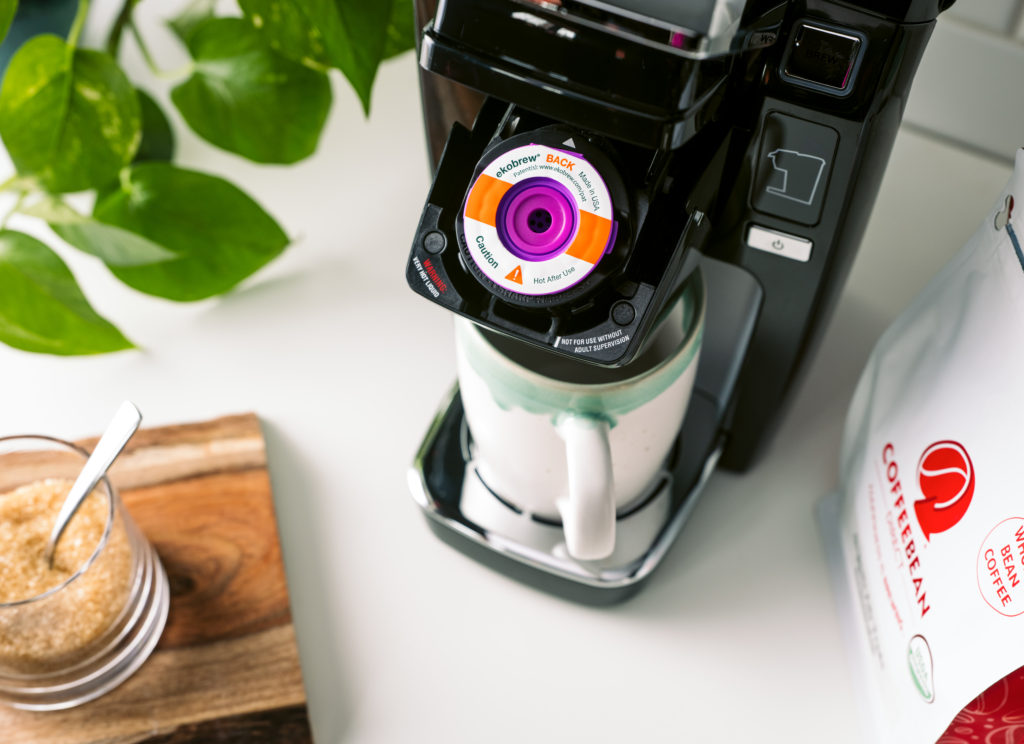
  • Brew at home in ways that limit waste: Skip the line, and brew at home. Not only will you save money, but you’ll reduce your footprint too. If you want to take it a step further and use a manual brewing method like a French press, pour-over, or Chemex to cut back on electricity. You’ll have a delicious cup you can feel good about!Of course, not everyone has time to use a more traditional coffee brewing method. We get it. If you can’t make traditional methods work for you, you can reduce your impact with an Ekobrew reusable filter for your coffee machine. Instead of piling up landfills with wasteful coffee pods, you can be satisfied knowing you have reduced your impact while you sip!
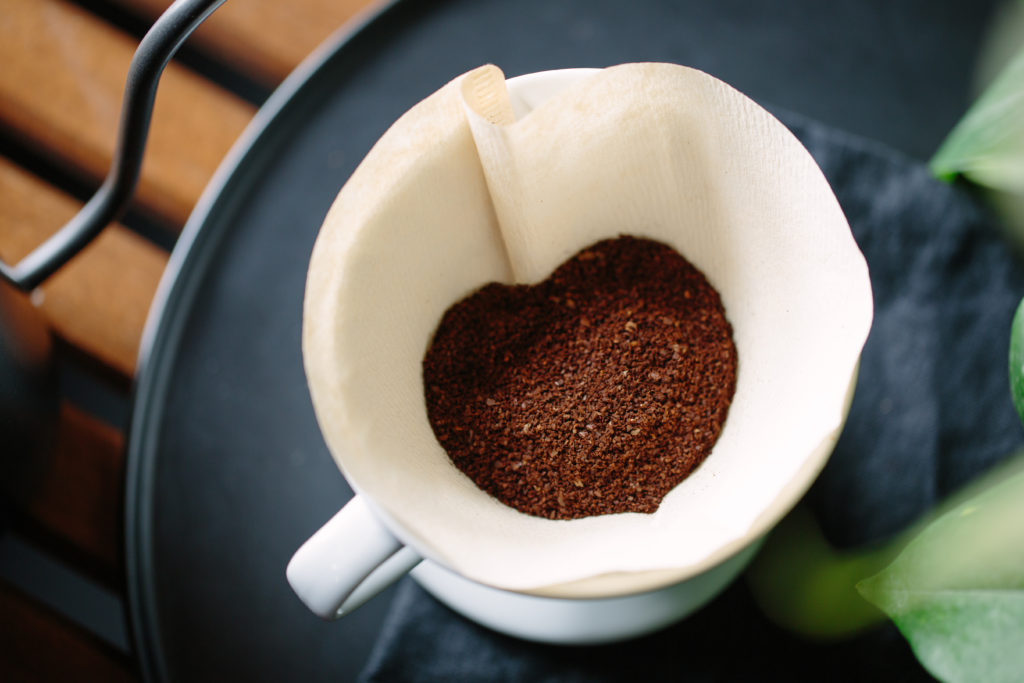
  • Re-use your coffee grounds: Inevitably, you will end up with coffee grounds when you brew at home, and they can most certainly be re-purposed in a variety of ways. They will work great for composting because they are rich in nitrogen. You can use them to exfoliate your skin, clean dishes, deodorize your refrigerator, and even fix furniture in your home. Behold the power of coffee!


  • Get a mug: This one goes without saying: get a re-usable mug! Not only will you help reduce the 50 billion discarded cups every year, but you will get cool points. Mugs are super customizable, and the choices are endless.


We hope these tips help you feel a bit better about doing your part to help make our planet a cleaner place. Have any tips of your own to share? Leave us a comment below!
Celebrate Pi Day With Apple Berry Pie

Wednesday, March 14th, 2018 by

It’s pretty safe to assume that we don’t need a reason to bake pie. We could eat it all day, every day. But if you’re hesitating at all, you’ll be relieved to know today is Pi Day. What is Pi Day you may ask?

Pi Day is the annual celebration of the mathematical constant Π. To be a little more specific, Pi is the ratio between the diameter and circumference of a circle. We celebrate this holiday today, on March 14 (3/14), because 3.14 are also the first three digits of Π!

Generally, Pi Day is celebrated with pie. Creative right?!? Well… maybe not, but who cares? Not only are pies delicious, but they’re usually a circle too. For us, festivities include activities such as baking pie, talking about pie, eating pie, and maybe even a pie in the face (be careful though, not everyone is a fan of that last one ;-D). So, like you, we’ll totally use Pi Day as an excuse to get at some scrumptious, pie.

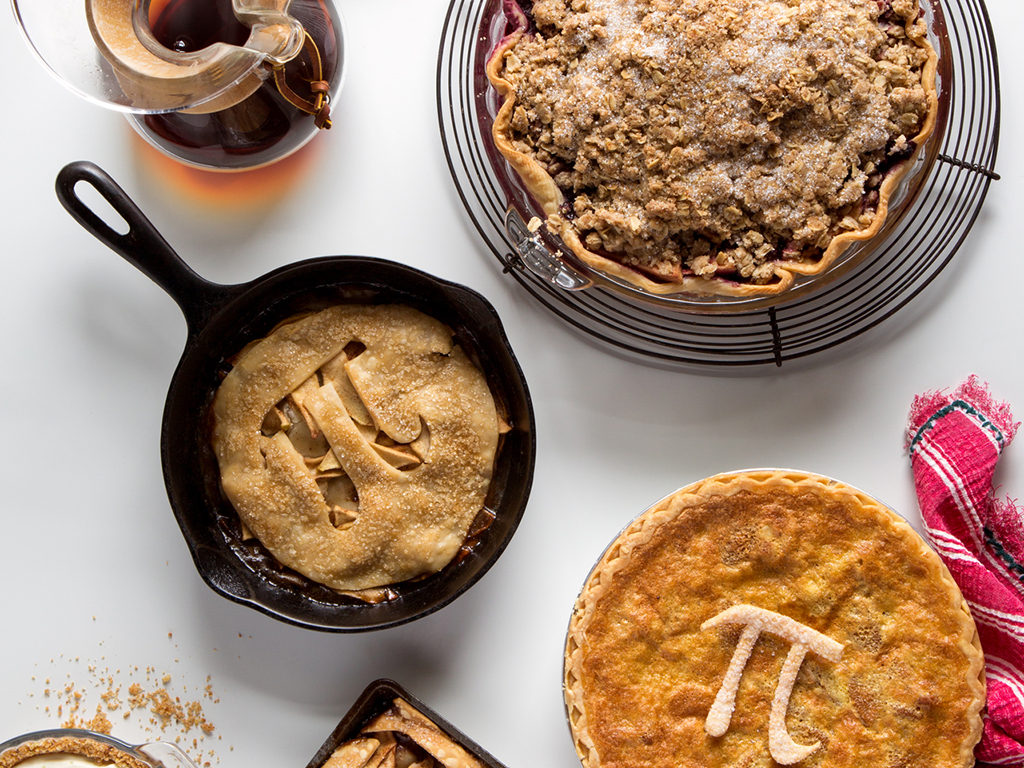
This recipe for Apple Berry Pie was concocted by our resident baker and shipping expert Lori. Lori’s Apple Berry Pie is chock-full of apple slices and whole berries: cherries, blueberries, and raspberries. We would say it tastes like an explosion of tart, fruity goodness, but that would not do justice to how good this pie truly is!

This Apple Berry pie’s filling is gooey and sweet, with a crumble on top adding a satisfying spicy crunch to the fruit inside. It’s so tasty, we bet you’ll be having a slice for breakfast with your coffee or tea! Give it a try with our March Roaster’s Blend. The combination of piquant Panama Boquete & sweet City Roast Costa Rican coffee perfectly complements the fruity spice of this delectable pie. They go together like two pies in a pod. Give this tasty recipe a try, and let us know what you think in the comments below!


Ingredients:

1 frozen pie crust

For the fruit:

2 cups blueberries                             2 cups raspberries

1 cup cherries                                   2 apples, chopped

2 tablespoons flour                            1 tablespoon bourbon

½ teaspoon clove                              ½ teaspoon black pepper

½ teaspoon salt                                ½ teaspoon ginger

½ teaspoon chile powder                    1 teaspoon cinnamon

For the topping:

¾ cups + 2 tablespoons butter (in liquid form)

½ cup of brown sugar

1 ¼ cup rolled oats

½ cup flour

1 teaspoon cinnamon

½ teaspoon salt


Directions:

  1. Preheat the oven to 350 degrees. Place the pie crust in a baking dish. Toss the apples with the flour and spices and spread in a single layer in the baking dish.
  2. Whisk the butter and brown sugar together until smooth. Place the rolled oats, pecans, flour, cinnamon, and salt in a large bowl. Add the coconut oil and brown sugar mixture; stir until combined.
  3. Pour the oat mixture over the apples to cover them evenly. Bake for 40-50 minutes until the topping is browning slightly. Let stand for 15-20 minutes.


Creme Brulee Recipe

Friday, November 6th, 2015 by

Creme Brulee Splash

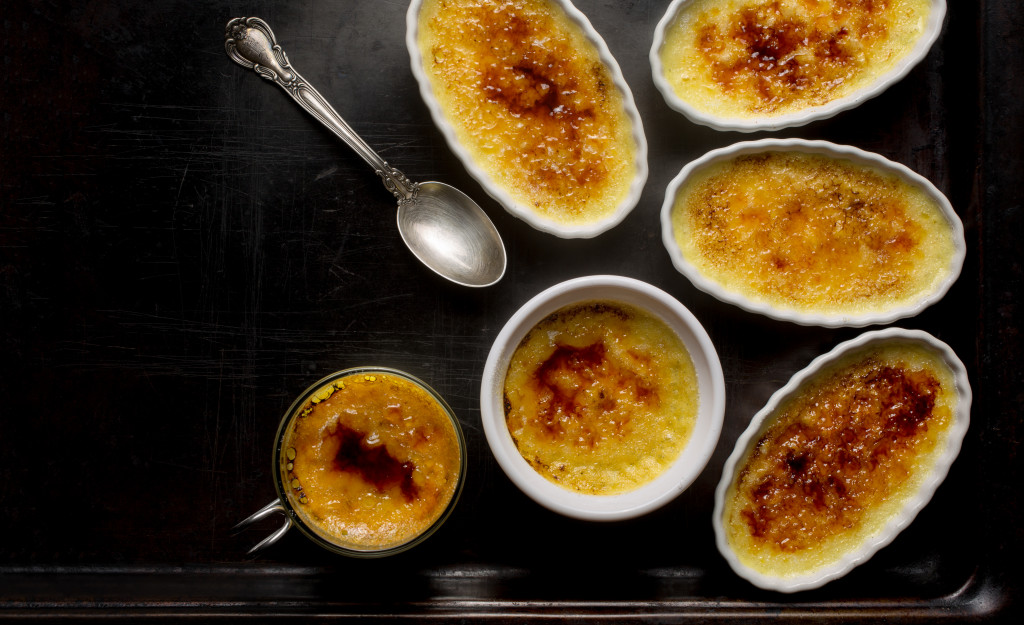
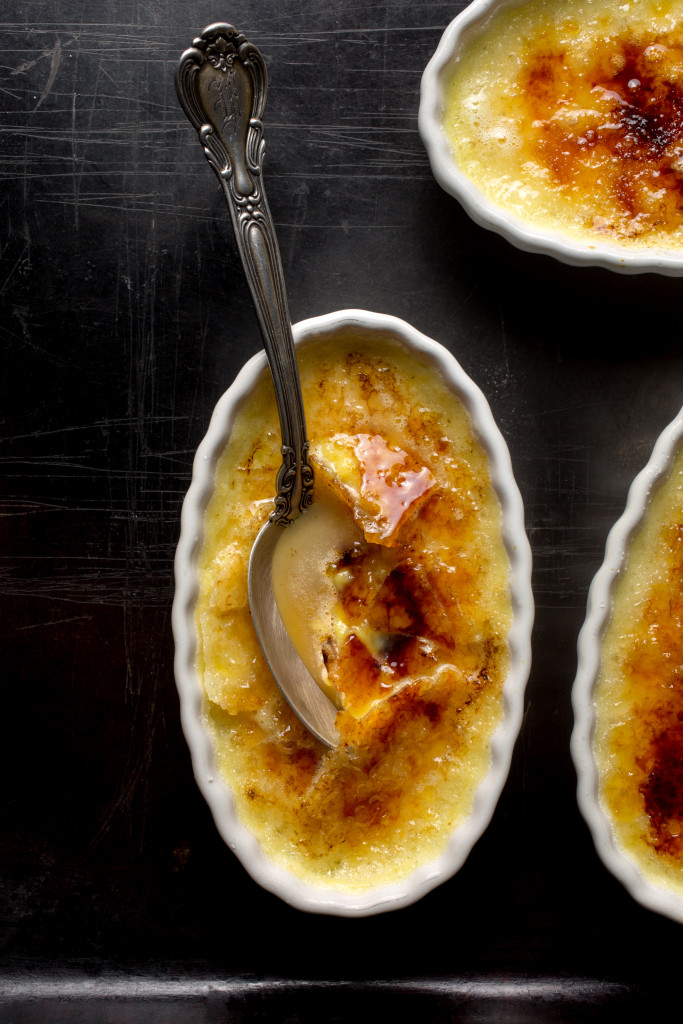
Creme brulee is very much a special occasion dessert. It’s pretty to look at, otherworldly to eat, and it’s really not all that difficult to make. If you’re intimidated by the kitchen torch thing, just buy one because they’re a lot of fun, and then read this great post on how to caramelize sugar responsibly. Homemade custard impresses the heck out of people and so do fire skills.

Sweet, vanilla-y and slightly smoky, our Creme Brulee has long been one of our most popular coffee flavors, and the dessert itself pairs well with coffee. Our shipping manager Lori recently whipped up a batch so good, we had to share her recipe:

Ingredients (for about six ramekins, 7 to 8 ounces each)

1 quart heavy cream
1 vanilla bean, scraped (substitute 1 tablespoon vanilla extract)
3/4 cups sugar
6 tablespoons superfine sugar
6 extra large egg yolks
2 quarts hot water

Directions

Preheat the oven to 325 degrees F.

Place the heavy cream, vanilla (the bean and the pulp or the extract if using) into a medium saucepan set over medium-high heat and bring to a boil. Remove from the heat, cover and allow to sit for 15 minutes. Remove the vanilla bean.

Whisk together the sugar and the egg yolks until well blended. Add the cream to the mixture slowly, stirring continually. Pour into ramekins. Place the ramekins into a large cake pan or roasting pan. Pour enough hot water into the pan to come halfway up the sides of the ramekins. Bake just until the creme brulee is just set, approximately 40 to 45 minutes. Refrigerate the ramekins after cooling for at least 2 hours (and up to 3 days).

Before serving, allow the creme brulee to sit unrefrigerated for at least 30 minutes prior to browning. Sprinkle a tablespoon or so of superfine sugar evenly on each ramekin. Using a torch, melt the sugar and form a hard, caramelized top. Feel free to burn it a little if you like that, but work quickly to avoid overheating the custard. Let sit 5 minutes, then crack it and enjoy!

Creme Brulee Newsletter


Behind the Flavor: Black Forest Cake

Monday, June 22nd, 2015 by

Black Forest Splash

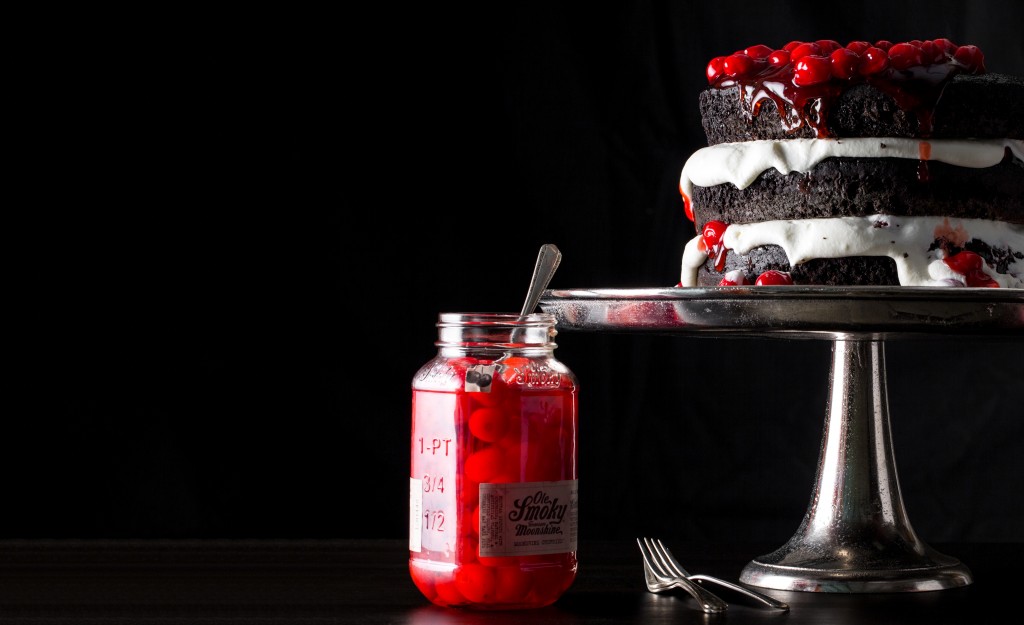
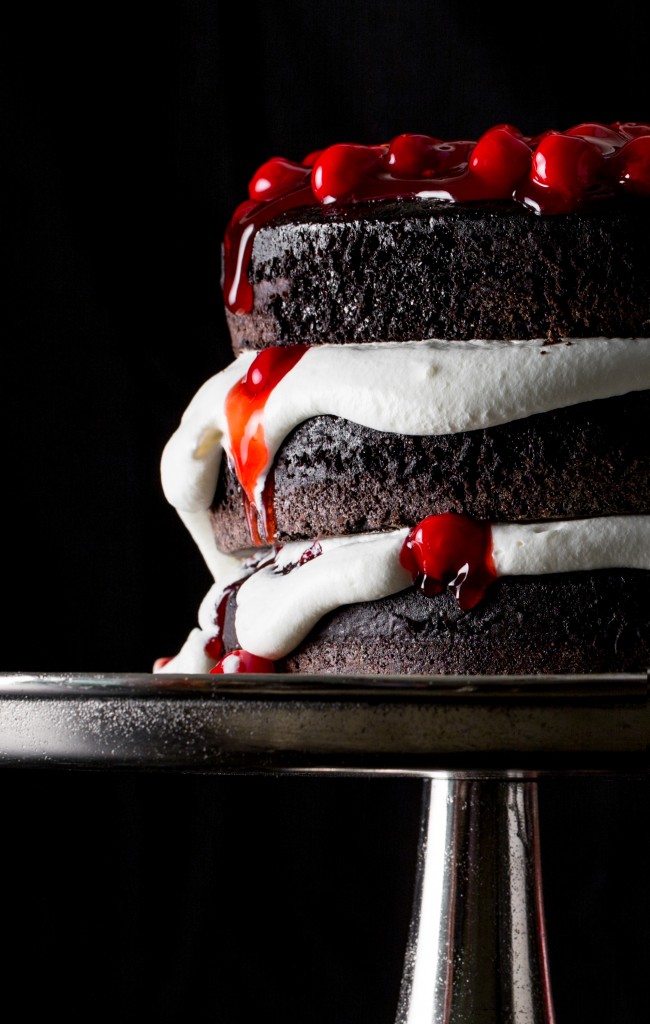
We unveiled a new flavor this month: Black Forest Cake, inspired by this delicious rustic version the traditional German dessert. While we feel Black Forest Cake coffee does the flavor justice, we did eat the cake pictured above in the name of research and feel slightly guilty that we didn’t share. So, here’s the recipe, adapted loosely from Butter and Brioche, baked by our shipping supervisor Lori.
While kirsch liqueur is traditionally used in the cherry topping, we skipped that step with store-bought cherry pie filling, but gave it a hillbilly twist, adding moonshine-soaked cherries on top. Consider it the rural New Jersey version.

Black Forest Cake Newsletter

Ingredients
For the cake (three layers):
  • 2-1/2 cups flour
  • 2/3 cup + 3 tbsp cocoa powder
  • 2 tsp baking powder
  • 2 tsp baking soda
  • Pinch of salt
  • 2 cups sugar
  • 2 large eggs (room temperature)
  • 1-1/3 cup sour cream (room temperature)
  • 1/2 cup (one stick) butter, melted
  • 2/3 cup + 3 tbsp boiling water
For the frosting:
  • 17.5 oz mascarpone cheese
  • 6-8 tablespoons confectioners’ sugar
  • 2/3 cup + 3 tablespoons cup heavy whipping cream
For the cherries:
Directions
Bake the cake:
  1. Heat an oven to 350 F. Grease and line three 7 inch cake pans.
  2. In a large bowl, sift together the flour, cocoa, baking powder, soda and salt. Stir to combine.
  3. Add the sugar, eggs, sour cream, butter and hot water. Stir gently until the batter is uniform and smooth.
  4. Divide between the three prepared cake pans.
  5. Bake for 25-30 minutes then let the cakes cool in their pans for 10 minutes before inverting onto a cooling rack. Let the cakes cool completely before leveling any domed tops and assembling.
Whip the cream:
  1. Beat the mascarpone and confectioners’ sugar until creamy. Add the cream and whip until thickened and spreadable, being carefully not to over whip and split the mixture.
Put it all together:
  1. Place the first cake layer on a serving platter. Spread a thick layer of the mascarpone cream frosting on-top. Place cherry topping over the frosting and gently press in to indent.
  2. Place the second cake layer over the first and repeat the layering process as before.
  3. Top with the third cake layer. Decorate with a generous amount of cherry filling, adding some moonshine cherries (recommended) to the mix. Refrigerator before serving.

Vietnamese Coffee Pops Recipe

Friday, June 19th, 2015 by


Coffee Pops


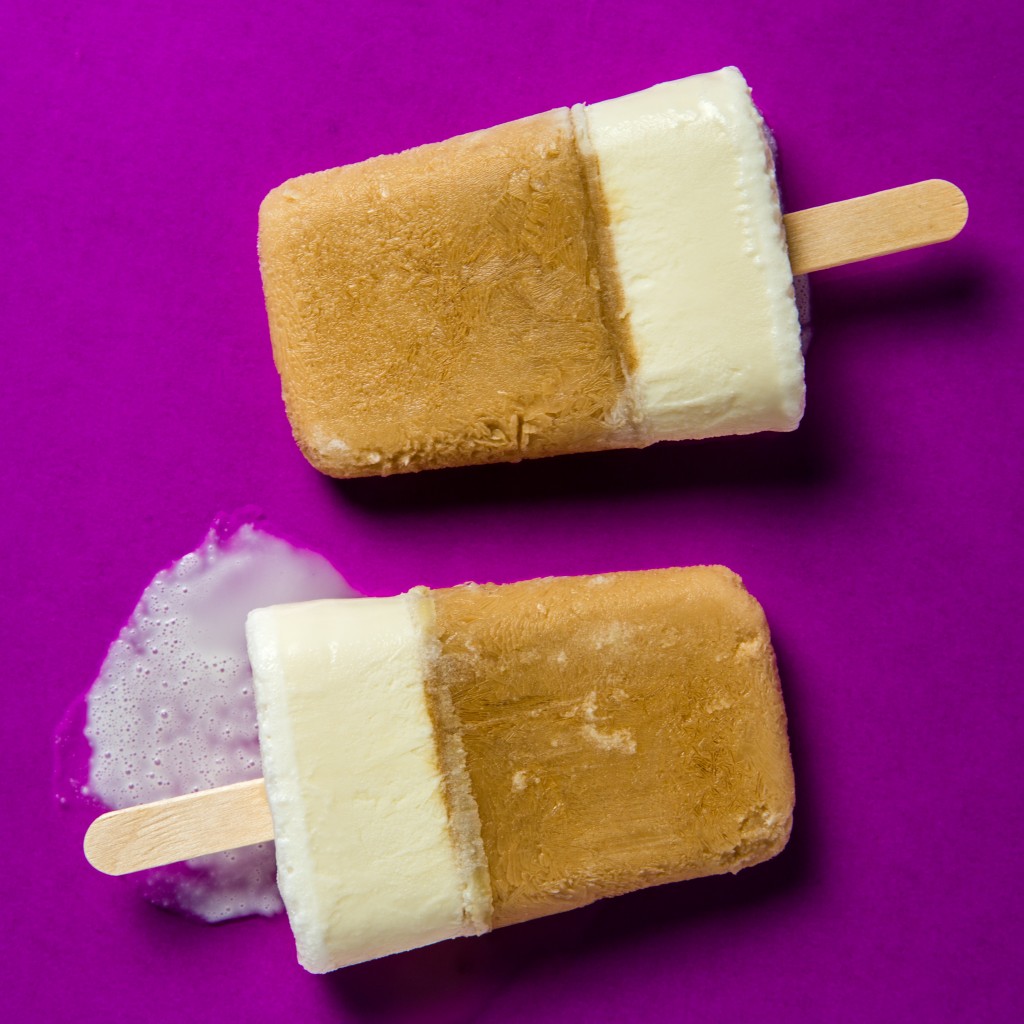
Combining rich coffee with sweetened condensed milk, Vietnamese iced coffee can quickly become a habit in the summer.  The traditional recipe uses a Vietnamese press, which brews a single serving of strong coffee into a glass containing sweetened condensed milk. Pour the mixture over ice and you’ve got something magical.

I’ve always thought this would be a fantastic ice cream flavor, but heat makes me lazy, and all that stirring sounds like hard labor. Popsicles to the rescue. Sweetened condensed milk is blended throughout the top and bottom layers of this recipe, so you get a nice mix of the coffee and sweet cream flavor at the top, finishing off with a little vanilla at the bottom.

What you’ll need

Popsicle molds for 12 pops

2 cups of cold dark coffee (we used our French Roast coffee, brewed in a French press and cooled)

1- 14 ounce can sweetened condensed milk

1/4 tsp vanilla extract

1-1/2 cups heavy cream

Non-stick cooking spray (optional)

Directions

  • Whisk the cold coffee and 2/3 cup of sweetened condensed milk together in a bowl and pour the mixture into your molds until each is about 3/4 full.*
  • Freeze for 2 hours or until the mixture is slushy, but frozen enough to hold a popsicle stick. The harder first layer is, the better the separation will be. A slightly softer layer will create a swirl effect, which is just as delicious.
  • In the meantime, mix together 6 tablespoons of the sweetened condensed milk, 1/4 teaspoon vanilla and 1-1/2 cups of the heavy cream.
  • Fill the remaining space in the molds with the cream mixture (you may have a little left over, depending on the size of the mold).
  • Freeze until very solid. Sweetened condensed milk takes a while to harden. Let it sit overnight or longer.

* A word about popsicle molds: 

Having a stick come out in your hand while the rest of your frozen treat remains stuck in the mold is a frustration no one should have to suffer ever. I recommend silicone molds, but managed to have success with the  old-fashioned plastic kind by spraying a little non-stick cooking spray inside before adding the coffee/milk mixture.

If that idea grosses you out, you can also dip the frozen pops in a bowl of warm water for 30 seconds or longer before pulling the sticks gently. I recommend doing that anyway, spray or no spray. While they are an awkward shape to eat, Dixie cup pops might be the simplest method of all. Simply peel the paper off, no tugging (or heartbreak) required.