Kona Coffee Grog Recipe

Monday, October 5th, 2015 by

Hurricane Joaquin came and went through New Jersey last week without drama, but we braced ourselves for the worst with this spectacular cocktail. A classic tiki recipe traditionally made with Hawaiian Kona coffee, this drink is served flaming. Perfect for your next power outage! We made this with our Hawaiian Kona Blend, which we created to approximate the real thing at a fraction of Kona’s high price.

1S0A5064

Ingredients per serving

3 teaspoons coconut cream
Orange peel
Lemon peel
2 whole cloves
¼ oz Grand Marnier
¾ oz 151 proof rum
Hot black Hawaiian Kona Blend coffee

Add the rum, Grand Marnier, cloves, and a twist each of orange and lemon peel to a heat proof container, preferably metal. Our first attempt with Pyrex was exciting, but now we’re down a measuring cup. Place the coconut cream in a mug, add hot coffee and stir.  If you’re not in the dark already, turn the lights out and hold a lit match or lighter over the alcohol mixture until it catches. Swirl the mixture for a few seconds to let the rum infuse with the citrus and cloves, then pour slowly into the coffee. Experiment with your pour to create a nice show!

Recipe adapted from tikiloungetalk.com.

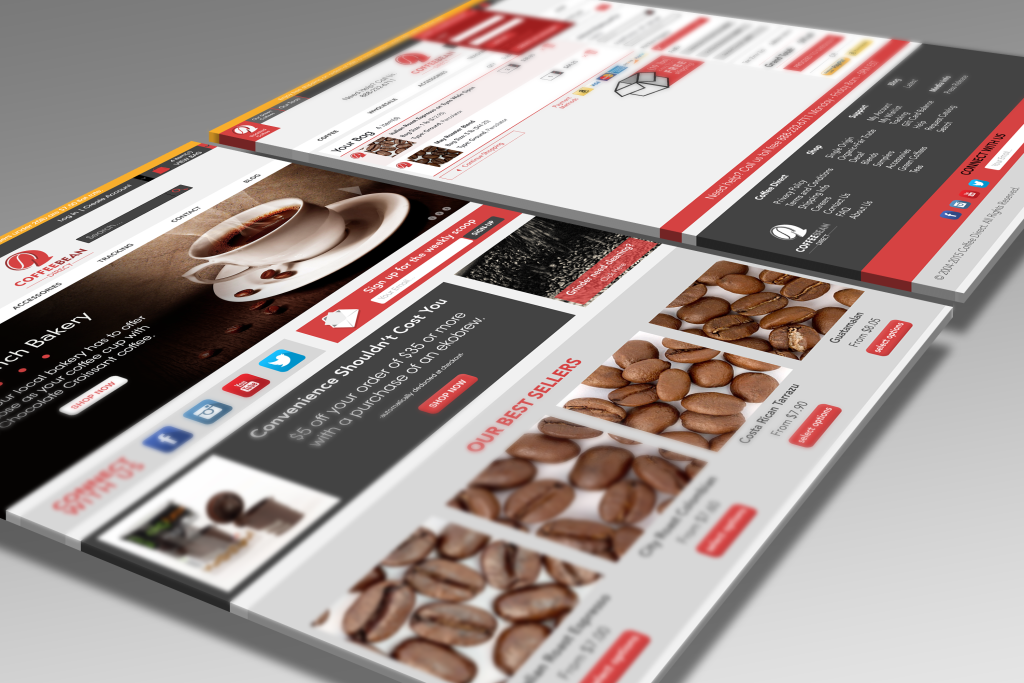
New Site Preview

Friday, September 25th, 2015 by

ProductPageOnMockup

Most of us find change at least mildly irritating, and change is everywhere all the time, so when the search bar on your favorite coffee website is in a new spot, it just might be the little thing that puts you over the edge. Consider this advanced notice: the search bar on our site is moving, and that’s just the beginning. We’ve been hard at work on a new site, which we hope will convince you that change is a wonderful (and beautiful) thing.

Here are some of the key changes you will see on our new site:*

  • Responsiveness (aka adaptability). Whether you’re browsing our site on a mobile, tablet, or desktop device, our site will respond to the device you are using. While viewing and shopping is possible on mobile devices using our current site, our new site will be much more mobile-friendly, requiring less scrolling and resizing, making it easy to navigate between products and checkout.
  • Easy Navigation. With more options available to you on the home page, you can get where you need to go with fewer clicks.
  • Improved searching. You typed Guatamalan. You meant Guatemalan. We know.
  • A simplified account page. Instead of navigating between pages while reviewing your account information, your previous orders, written reviews, wishlist, address book, and any gift card balances will all be in one place.
  • A user-friendly reviewing process. Were you confused when we mentioned reviews? That’s probably because the “add your review” button is pretty hard to find when browsing our products. Our new site will invite feedback, making it easier to contribute and browse reviews.
  • Free shipping countdown. We’re adding a countdown feature to our checkout page so you can keep track of how close your order is to qualifying for free shipping as you add items to your cart.
  • A new color scheme. It’s still us, we’re just prettier now.

Web-MockUp_05

*Not all of these changes will be implemented at once, but expect to see them soon!

Aeropress Basics

Friday, September 18th, 2015 by


DSCN1204

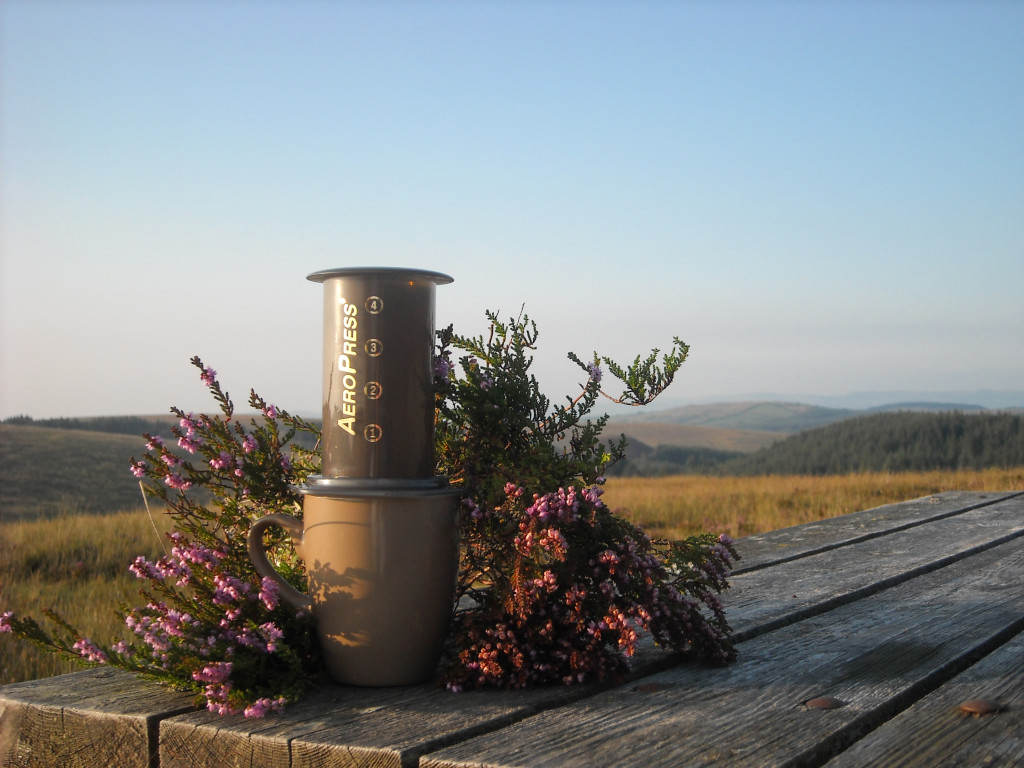
The TSA-friendly Aeropress, on vacation in County Monaghan, Ireland.

We love the Aeropress. Why? It’s easy to use, affordable, compact, and produces a rich, flavorful cup of coffee. If you’re brewing for one (or two), it takes up a heck of a lot less space on a kitchen counter than an automatic drip brewer, though the shape may raise some eyebrows. The Aeropress loves to travel, it’s quick to use, and easy to clean. It fits great in a backpack or even a purse — take it to the office or on your next camping trip. Ready to try it? Here are the basics:

Brewing Instructions

  1. Boil some water and let it cool for about a minute.
  2. Place a filter inside the cap and place the Aeropress over your mug without the plunger inside.
  3. Wet the filter slightly with a little warm water.
  4. Pour in 2 scoops of finely ground coffee (we use a grind slightly finer than standard autodrip). A plastic funnel comes with the Aeropress for this purpose, but you may find that you don’t need it.
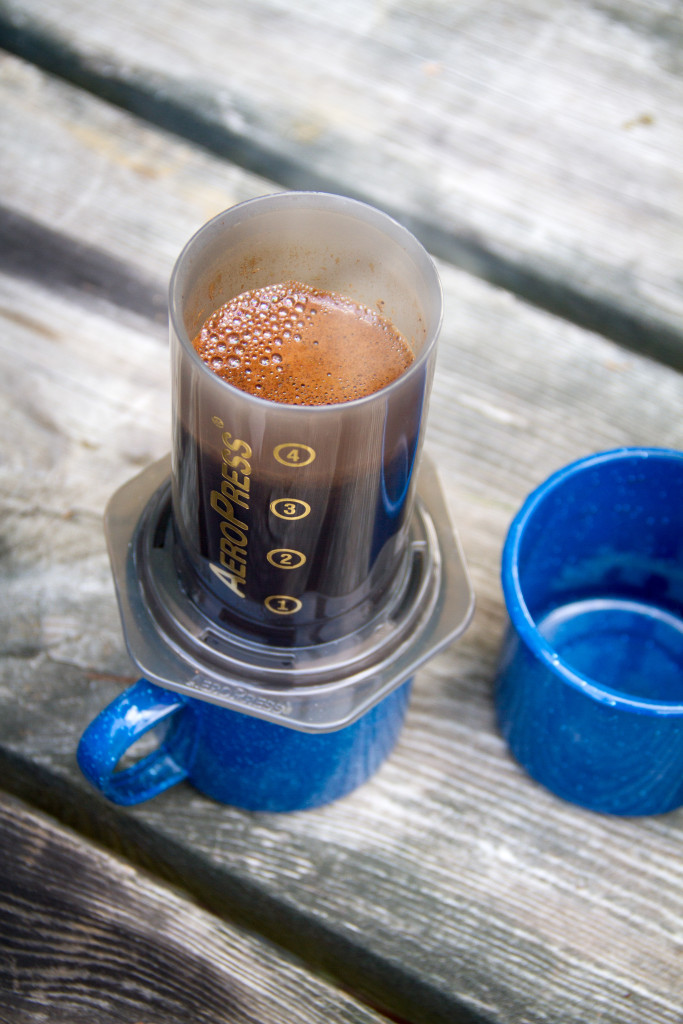
  5. Add the hot water until it reaches the number four.
  6. Stir (Aeropress comes with a little paddle).
  7. Insert plunger and PRESS firmly.

You’re done! Drink as is or dilute it with hot water to taste.

Aero2steam

Once you’ve got this down, give the reverse method a try. The coffee steeps a little longer in the hot water, producing a flavor closer to French press coffee.

The Reverse Method

  1. Start with the plunger in the Aeropress and flip upside-down so the top of the plunger is resting your mug.
  2. Pour in two scoops of finely ground coffee.
  3. Hold the cylinder steady over the cup and add hot water until nearly full.
  4. Stir with your paddle.
  5. Steep for one minute (you might want to experiment with steep time to get the flavor you like).
  6. Attach the cap with a filter inside.
  7. Flip it, carefully, and place over your mug.
  8. PRESS.

There you go. Two easy methods, two great cups of coffee. One weird looking tube thing no one would ever guess has anything to do with coffee. Enjoy!

Photo credit, top: Stacey Meola


Jasmine Honey Tea Granita

Thursday, August 27th, 2015 by

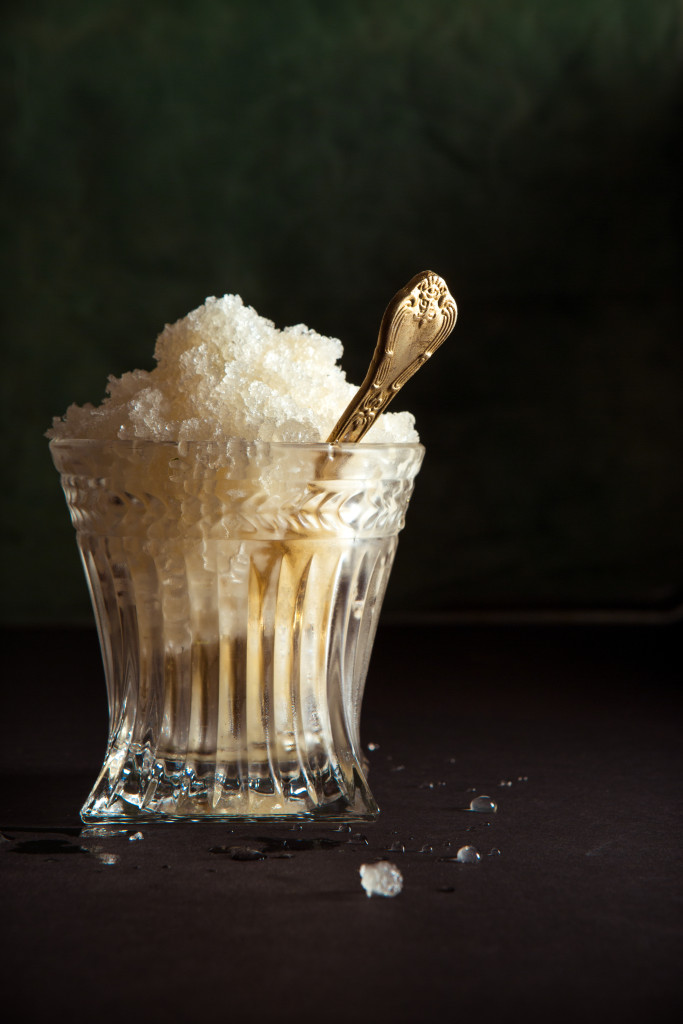
If you’ve followed our recipes lately, you know we’re fans of fancy looking frozen desserts that require no machine and little effort. Continuing in that tradition, we present the refreshing tea granita! If you’ve never had a granita, it is usually made with water, sugar, and flavor, sometimes fresh fruit, and has a unique texture somewhere between sorbet and shaved ice. It’s exactly what you want on a hot day and a refreshing way to enjoy the sweet, floral flavor of our Jasmine First Grade green tea.

Granita

Ingredients

3 cups near-boiling water

2 teaspoons Jasmine First Grade loose leaf green tea (or two tea bags)

¼ cup honey

Instructions

  1. Steep tea for 2.5 minutes. Green tea has a tendency to become bitter with over-steeping, so be sure to strain the leaves out at this point.
  2. Add honey and stir well.
  3. Pour the sweetened tea into a freezer safe container. The deeper  the liquid, the longer the “granitafying” takes. We used a shallow 8×8 pan.
  4. Freeze for one hour, or until ice crystals begin to form around the edges.
  5. Remove and stir the crystals into the liquid. Return to the freezer for 20 minutes and repeat. Continue this process as the mixture hardens, scraping the surface with a fork as it solidifies, until fully frozen and fluffy.
  6. Store in the freezer until ready to serve. If it solidifies too much, let it thaw a little in the fridge and re-fluff with a fork.

No-Churn Coffee Fudge Ice Cream

Friday, August 21st, 2015 by

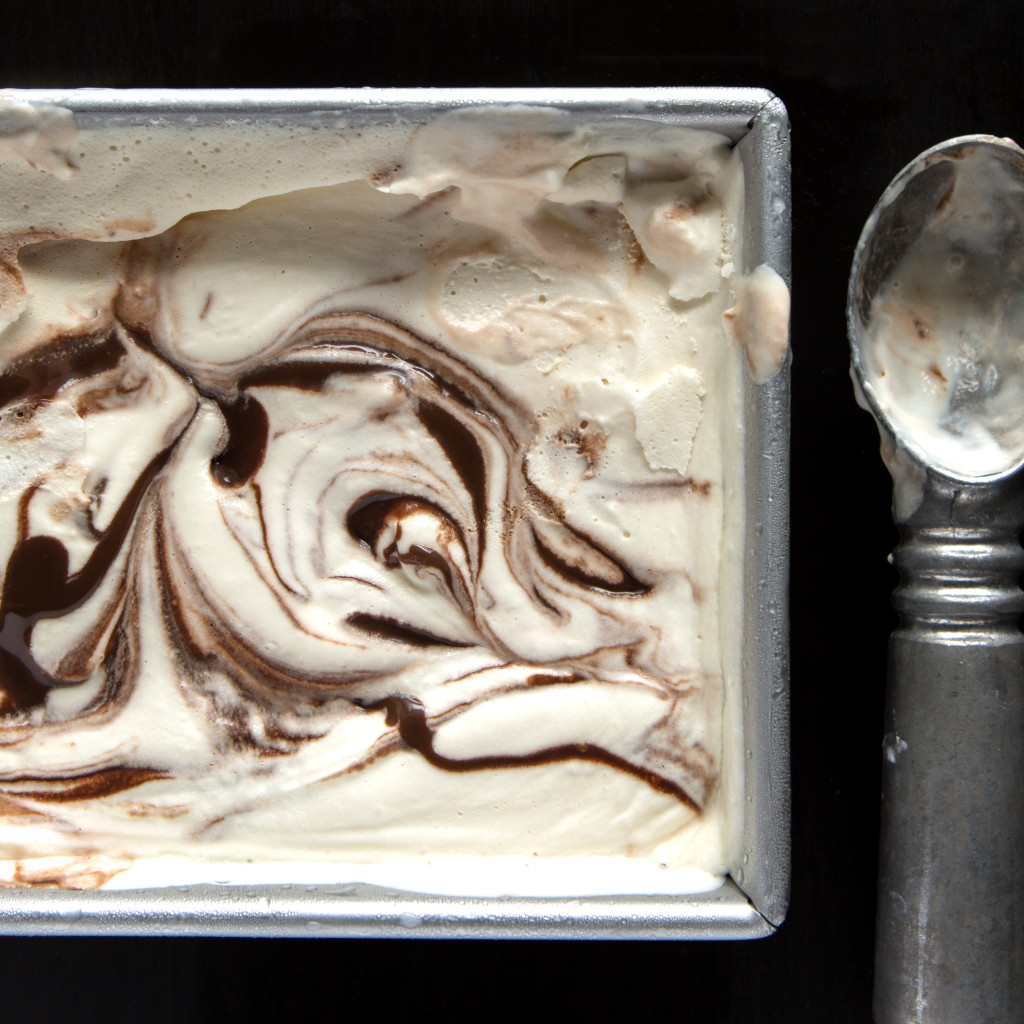
Having mastered super-simple Vietnamese Iced Coffee Pops, we decided to try another lazy, low-tech frozen dessert: no-churn ice cream. This one might be slightly more lazy, given that an appliance does most of the work and the freezing happens in one step, not two.

No churn ice cream

Inspired by The Kitchn’s easy recipe for no-churn, 2-ingredient vanilla, we decided to try a coffee version, swirling fudge into the mixture before letting it set. It took minutes to make the ice cream base and the possible variations are endless. Tea, spices, or even herbs would make interesting flavoring alternatives, and mix in anything you like for texture.

Ingredients

  • ½ cup cold, dark roast brewed coffee (we used Medium Roast Espresso)
  • 1 (14-ounce) can sweetened condensed milk
  • 2 cups cold heavy cream
  • Hot fudge (well, warm fudge)

Instructions

  1. Pour the sweetened condensed milk into a large bowl and whisk in the cold coffee (or other flavoring), set aside.
  2. Whip the heavy cream until peaks form. We used a hand mixer on medium-high.
  3. Add whipped cream to the condensed milk mixture and blend by hand or on the low setting until combined.
  4. Blend again on medium until the mixture is just thickened.
  5. Pour mixture into a freezer-safe container (we used a standard size loaf pan) and cover with wax paper.
  6. Freeze overnight or until firm and enjoy!