Aeropress Basics
Friday, September 18th, 2015 by Andrew
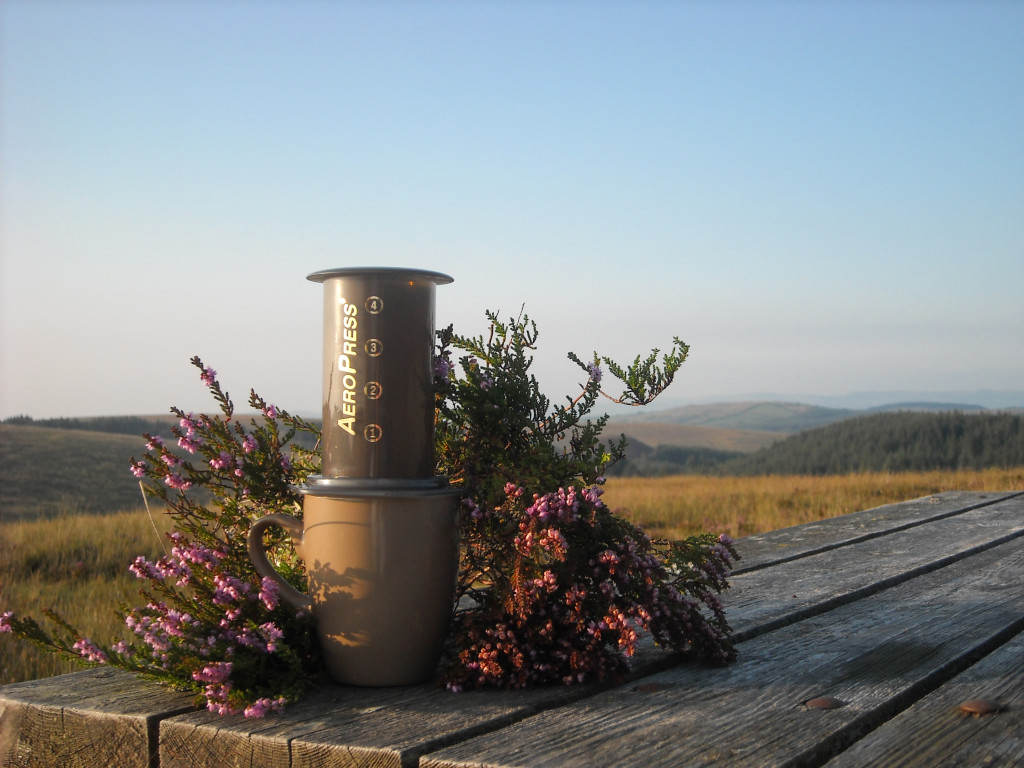
The TSA-friendly Aeropress, on vacation in County Monaghan, Ireland.
We love the Aeropress. Why? It’s easy to use, affordable, compact, and produces a rich, flavorful cup of coffee. If you’re brewing for one (or two), it takes up a heck of a lot less space on a kitchen counter than an automatic drip brewer, though the shape may raise some eyebrows. The Aeropress loves to travel, it’s quick to use, and easy to clean. It fits great in a backpack or even a purse — take it to the office or on your next camping trip. Ready to try it? Here are the basics:
Brewing Instructions
- Boil some water and let it cool for about a minute.
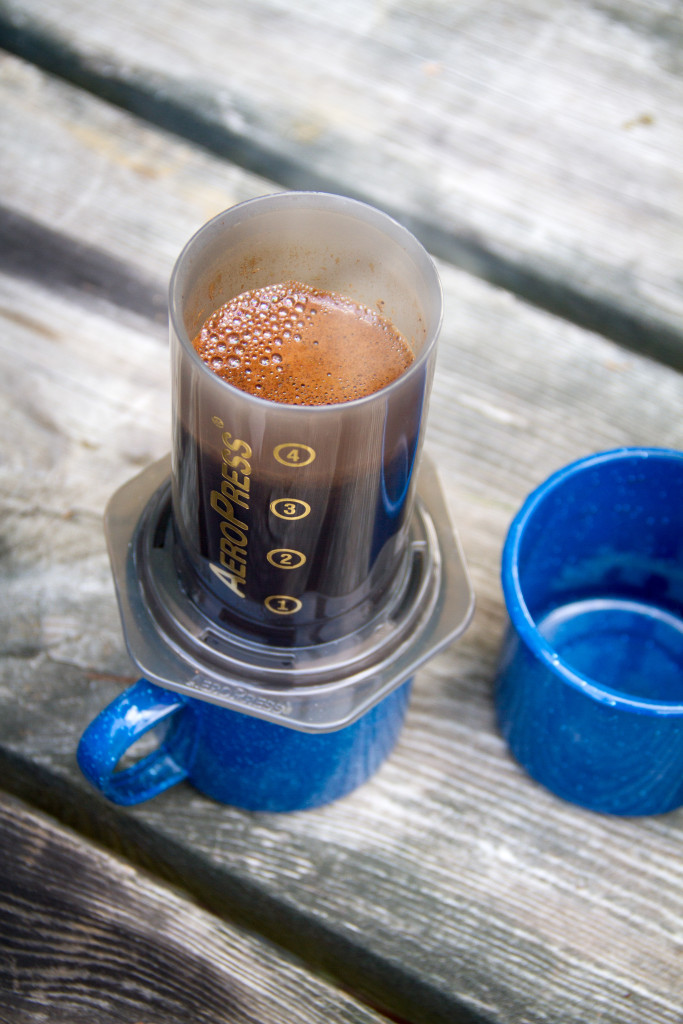
- Place a filter inside the cap and place the Aeropress over your mug without the plunger inside.
- Wet the filter slightly with a little warm water.
- Pour in 2 scoops of finely ground coffee (we use a grind slightly finer than standard autodrip). A plastic funnel comes with the Aeropress for this purpose, but you may find that you don’t need it.
- Add the hot water until it reaches the number four.
- Stir (Aeropress comes with a little paddle).
- Insert plunger and PRESS firmly.
You’re done! Drink as is or dilute it with hot water to taste.

Once you’ve got this down, give the reverse method a try. The coffee steeps a little longer in the hot water, producing a flavor closer to French press coffee.
The Reverse Method
- Start with the plunger in the Aeropress and flip upside-down so the top of the plunger is resting your mug.
- Pour in two scoops of finely ground coffee.
- Hold the cylinder steady over the cup and add hot water until nearly full.
- Stir with your paddle.
- Steep for one minute (you might want to experiment with steep time to get the flavor you like).
- Attach the cap with a filter inside.
- Flip it, carefully, and place over your mug.
- PRESS.
There you go. Two easy methods, two great cups of coffee. One weird looking tube thing no one would ever guess has anything to do with coffee. Enjoy!
Photo credit, top: Stacey Meola
The TSA-friendly Aeropress, on vacation in County Monaghan, Ireland.
We love the Aeropress. Why? It’s easy to use, affordable, compact, and produces a rich, flavorful cup of coffee. If you’re brewing for one (or two), it takes up a heck of a lot less space on a kitchen counter than an automatic drip brewer, though the shape may raise some eyebrows. The Aeropress loves to travel, it’s quick to use, and easy to clean. It fits great in a backpack or even a purse — take it to the office or on your next camping trip. Ready to try it? Here are the basics:
Brewing Instructions
- Boil some water and let it cool for about a minute.
- Place a filter inside the cap and place the Aeropress over your mug without the plunger inside.
- Wet the filter slightly with a little warm water.
- Pour in 2 scoops of finely ground coffee (we use a grind slightly finer than standard autodrip). A plastic funnel comes with the Aeropress for this purpose, but you may find that you don’t need it.
- Add the hot water until it reaches the number four.
- Stir (Aeropress comes with a little paddle).
- Insert plunger and PRESS firmly.
You’re done! Drink as is or dilute it with hot water to taste.

Once you’ve got this down, give the reverse method a try. The coffee steeps a little longer in the hot water, producing a flavor closer to French press coffee.
The Reverse Method
- Start with the plunger in the Aeropress and flip upside-down so the top of the plunger is resting your mug.
- Pour in two scoops of finely ground coffee.
- Hold the cylinder steady over the cup and add hot water until nearly full.
- Stir with your paddle.
- Steep for one minute (you might want to experiment with steep time to get the flavor you like).
- Attach the cap with a filter inside.
- Flip it, carefully, and place over your mug.
- PRESS.
There you go. Two easy methods, two great cups of coffee. One weird looking tube thing no one would ever guess has anything to do with coffee. Enjoy!
Photo credit, top: Stacey Meola


