Hot Fudge Pudding Cake
Tuesday, May 8th, 2018 by Al
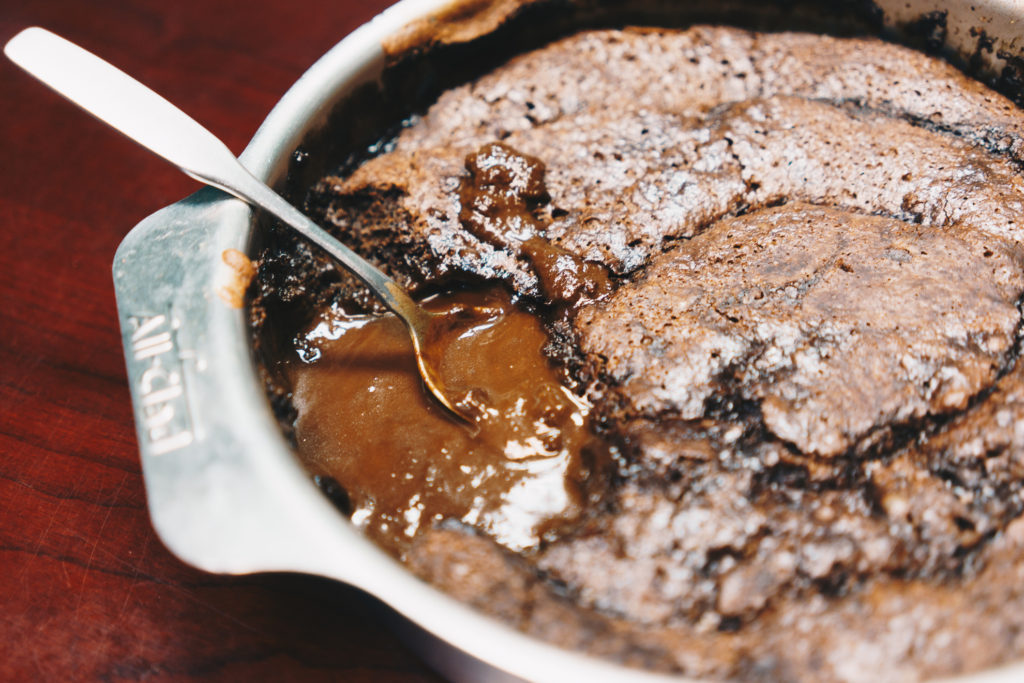
Hot Fudge Pudding Cake. What more could we possibly say? This incredibly tasty recipe was prepared by our resident programmer’s extremely thoughtful mother, Ellen. It’s a simple, low-effort desert featuring a rich chocolate fudge sauce that forms during the baking process. WARNING: do not taste test as you will end up with chocolate sauce all over your face. If you’re like us, you might also end up without any cake left. Serve with some ice cream for a nice balance of cold dessert and warm cake! Now, let’s get down to business.
Ingredients:
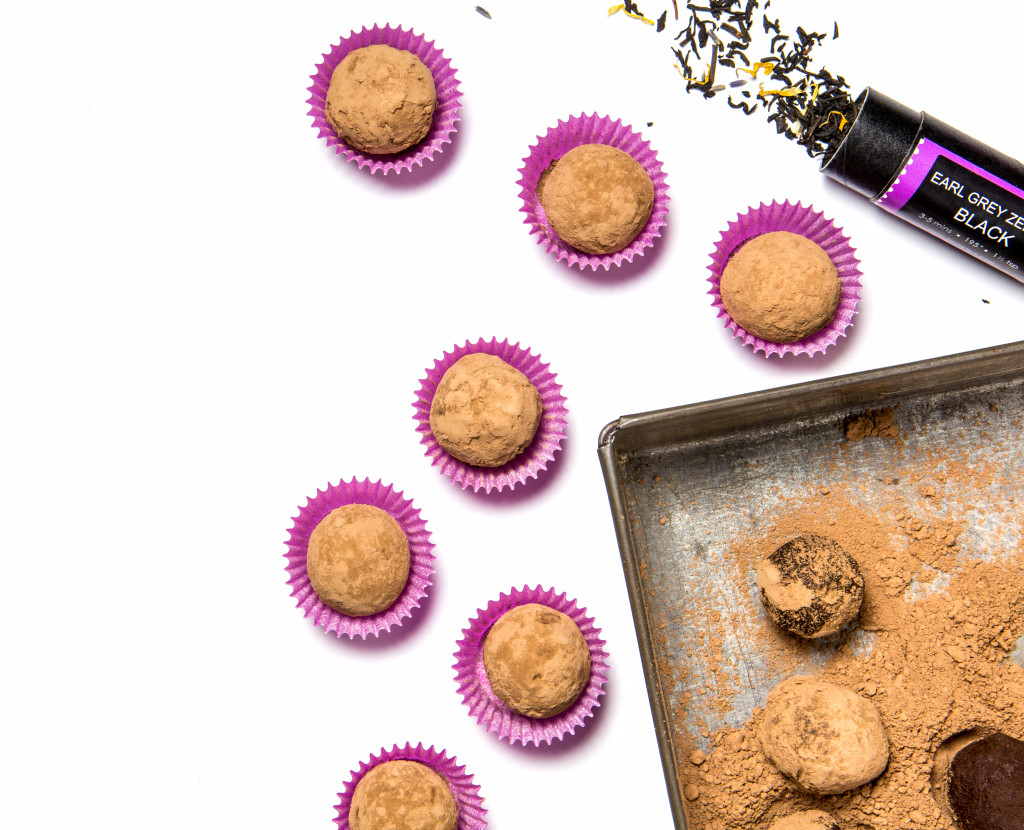
- 1 ½ cups of brewed coffee, cold (our Grandfather’s Blend works great, but you can use whatever you prefer.)
- 6 tablespoons of butter, extra for greasing the cake pan
- 1/3 cup of chocolate chips (chopped semi-sweet chocolate also works)
- 2/3 cup of cocoa powder, divided
- 1 cup of white sugar, divided
- ¾ cup of flour
- 2 teaspoons baking powder
- 1 tablespoon of vanilla
- 1/3 cup milk (preferable whole milk)
- 1 egg yolk
- 1/3 cup of brown sugar
Directions:
- Heat your oven to 325 degrees, and take an 8 inch square or round cake pan that is at least 1 ½ to 2 inches deep and grease it with butter. Combine the 6 tablespoons of butter, chocolate chips, 1/3 cup of cocoa in a double boiler over simmering water. Melt them together. Watch it carefully and stir frequently until combined. Remove from heat (alternatively, this can be done in a microwave on half power. Again, watch carefully and stir frequently.)
- Whisk together 2/3 cup of white sugar, vanilla and milk. Add egg yolk and whisk it to combine. Add this mixture to the melted chocolate and whisk together. Add flour and baking powder. Stir to combine. Pour this mixture into the cake pan and spread evenly. In a small bowl, combine the remaining 1/3 cup of cocoa, remaining 1/3 cup of white sugar, and brown sugar, breaking up any clumps with your fingers. Sprinkle this mixture evenly over the cake batter in your pan. Do not stir.
- Pour the coffee over the cocoa/sugar mixture. Do not stir. Bake until the cake is puffed and bubbling and just beginning to pull away from sides the sides of the cake pan, about 35-45 minutes.
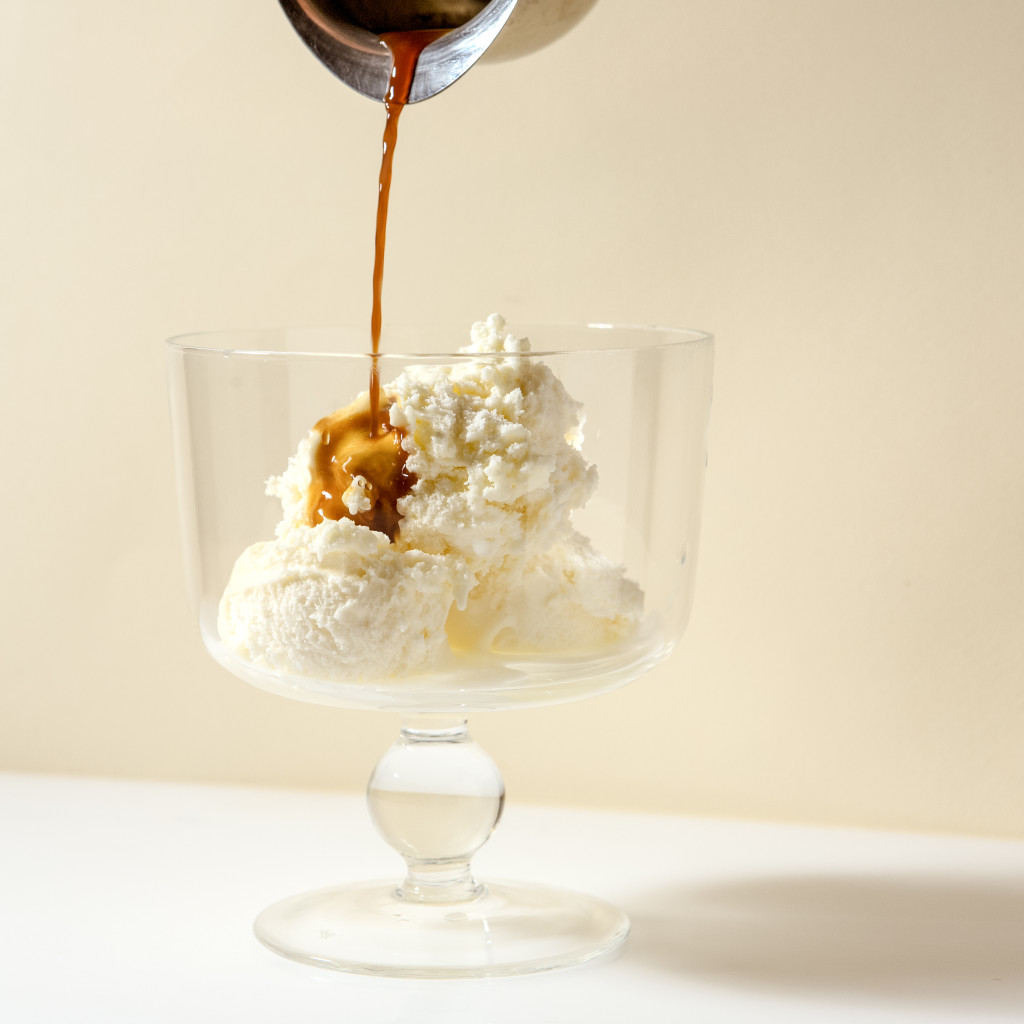
- Cool for at least 15 minutes before spooning into bowls to serve.
- Magically, there will be a nice chocolate cake on top of a rich pudding sauce underneath! Make sure to store at room temperature.
This is not an elegant cake, frankly it looks like a mess. But it’s a mess of chocolate that you can eat, and you bet it is delicious. In our opinion it’s one of the easiest most impressive desserts you’ll ever make. Enjoy and let us know in the comments below how it turned out!
Hot Fudge Pudding Cake. What more could we possibly say? This incredibly tasty recipe was prepared by our resident programmer’s extremely thoughtful mother, Ellen. It’s a simple, low-effort desert featuring a rich chocolate fudge sauce that forms during the baking process. WARNING: do not taste test as you will end up with chocolate sauce all over your face. If you’re like us, you might also end up without any cake left. Serve with some ice cream for a nice balance of cold dessert and warm cake! Now, let’s get down to business.
Ingredients:
- 1 ½ cups of brewed coffee, cold (our Grandfather’s Blend works great, but you can use whatever you prefer.)
- 6 tablespoons of butter, extra for greasing the cake pan
- 1/3 cup of chocolate chips (chopped semi-sweet chocolate also works)
- 2/3 cup of cocoa powder, divided
- 1 cup of white sugar, divided
- ¾ cup of flour
- 2 teaspoons baking powder
- 1 tablespoon of vanilla
- 1/3 cup milk (preferable whole milk)
- 1 egg yolk
- 1/3 cup of brown sugar
Directions:
- Heat your oven to 325 degrees, and take an 8 inch square or round cake pan that is at least 1 ½ to 2 inches deep and grease it with butter. Combine the 6 tablespoons of butter, chocolate chips, 1/3 cup of cocoa in a double boiler over simmering water. Melt them together. Watch it carefully and stir frequently until combined. Remove from heat (alternatively, this can be done in a microwave on half power. Again, watch carefully and stir frequently.)
- Whisk together 2/3 cup of white sugar, vanilla and milk. Add egg yolk and whisk it to combine. Add this mixture to the melted chocolate and whisk together. Add flour and baking powder. Stir to combine. Pour this mixture into the cake pan and spread evenly. In a small bowl, combine the remaining 1/3 cup of cocoa, remaining 1/3 cup of white sugar, and brown sugar, breaking up any clumps with your fingers. Sprinkle this mixture evenly over the cake batter in your pan. Do not stir.
- Pour the coffee over the cocoa/sugar mixture. Do not stir. Bake until the cake is puffed and bubbling and just beginning to pull away from sides the sides of the cake pan, about 35-45 minutes.
- Cool for at least 15 minutes before spooning into bowls to serve.
- Magically, there will be a nice chocolate cake on top of a rich pudding sauce underneath! Make sure to store at room temperature.
This is not an elegant cake, frankly it looks like a mess. But it’s a mess of chocolate that you can eat, and you bet it is delicious. In our opinion it’s one of the easiest most impressive desserts you’ll ever make. Enjoy and let us know in the comments below how it turned out!