National Cookie Day
Tuesday, December 4th, 2018 by Andrew Esserman
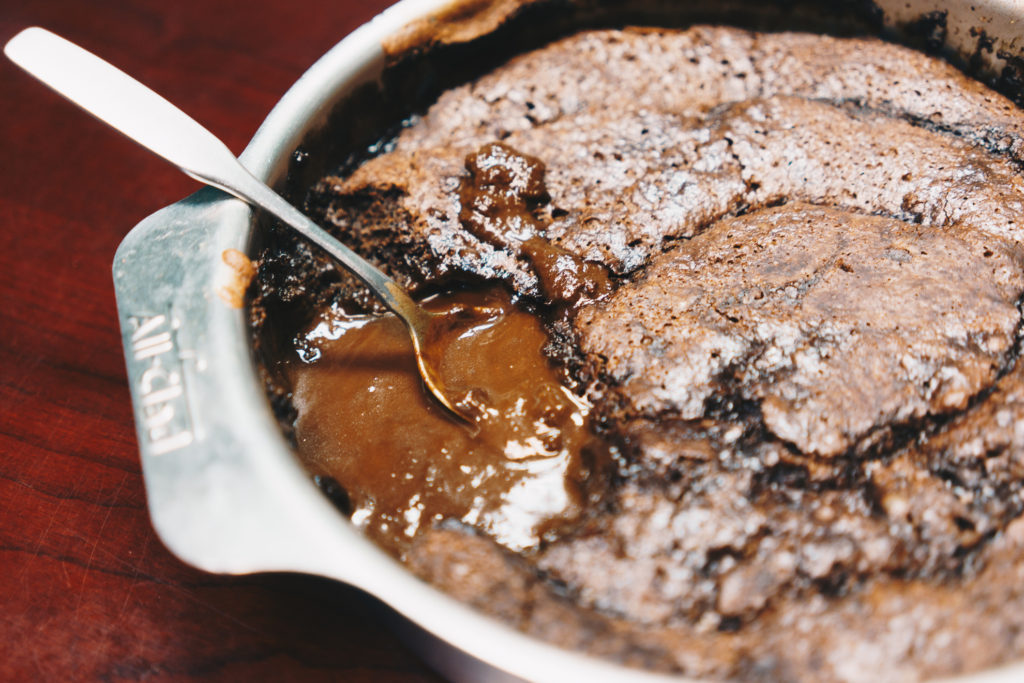
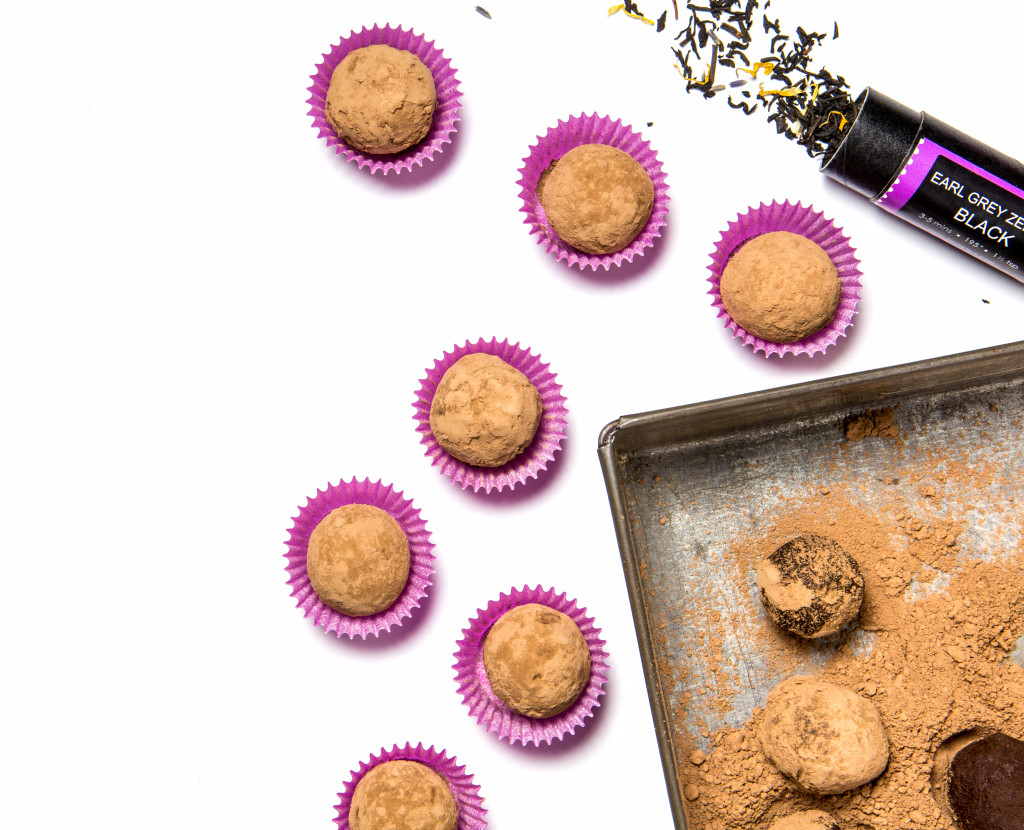
Cookies are such a happy little food. You can’t be truly sad when you’re eating a cookie. The other undeniable thing about cookies is they scream to be dunked. That’s where we come in. Milk and cookies? We’re not going to deny it. It’s a timeless pairing. But coffee and tea are where it’s at in the beverage world. There is no better reward for successful adulting (I know, it’s not a real word) than a steamy cup of vitality to dip your cookie in. With National Cookie Day coming up, we used brewed tea to bake spicy, sweet Chocolate Chai Tea Cookies. Guess what we did with them? We dipped them in coffee, like the rebels that we are. Step aside milk, coffee and tea are coming for you.
Believe it or not, there is a science behind dunking. Cookies taste better when dunked; it’s not in your imagination. Some cultures even apply rules to their dunking. In Australia “Tim Tam Slam” is a six-step process where dunking enthusiasts bite off the corners of their cookie, use it as a straw to slurp up their beverage of choice, and then pop the cookie in their mouth for ultimate consumption. Dunking dissolves the sugars of a cookie, releasing its flavor and softening the texture. It draws in the liquid so it’s easier and more pleasurable to eat.
The UK honors a “National Biscuit Dunking Day.” We looked into it and for all intents and purposes, what the English consider a ‘biscuit’ would be seen more as a cookie in the U.S. I’m sure you can find someone to argue this claim, but that’s a can of worms for another day. The holiday was born to make physics accessible by focusing on a cheerful subject matter. The founder of this holiday, physicist Len Fisher, was surprised by how quickly the day gained attention and popularity. Almost every UK newspaper celebrated, posting Washburn’s Equation, which explains capillary flow in porous materials. The science of dunking became a household subject matter.
Now that you have been graced with this life-altering, scientifically-proven epiphany, you can celebrate National Cookie Day in expert fashion. We’re not saying milk doesn’t have a place in the dunking world, we’re just saying it’s more of an accessory than an essential. I mean, you can’t argue with science, right? There goes coffee and tea, stepping in and upping the ante, once again.
Try this physics experiment out yourself with our favorite cookie recipe and your coffee or tea of choice and share your experience in the comments below!
 Servings 3 -4 Dozen
Ingredients:
1 Cup Butter Softened
2 Cups Sugar
1/4 Cup Brown Sugar Packed
2 Eggs
1/4 Cup plus 2 Tbsp Old World Chocolate Chai Tea, strong brewed
¼ cup cocoa
4 Cups All Purpose Flour
2 Tsp Baking Powder
1/2 Tsp Salt
1 1/4 Cup Powdered Sugar
3 Tbsp Milk
2 Tsp Vanilla
Ground Cinnamon
Instructions
Begin by creaming the butter, adding in the cocoa, sugars, eggs, tea, and vanilla.
Add in the flour, baking powder, and salt, mixing well.
Chill the cookie dough in the fridge for 1-2 hours.
Preheat the Oven to 350*.
Roll the dough out on a floured surface and cut the round shapes. Place them on a greased cookie sheet about 2 inches apart.
Bake for 10-12 minutes then remove from oven and let cool before moving to a wire rack to complete cooling.
While the cookies are cooling combine the powdered sugar, milk, and vanilla in a small bowl.
Spread a little bit of the glaze on each cookie and add a dash of cinnamon.
Cookies are such a happy little food. You can’t be truly sad when you’re eating a cookie. The other undeniable thing about cookies is they scream to be dunked. That’s where we come in. Milk and cookies? We’re not going to deny it. It’s a timeless pairing. But coffee and tea are where it’s at in the beverage world. There is no better reward for successful adulting (I know, it’s not a real word) than a steamy cup of vitality to dip your cookie in. With National Cookie Day coming up, we used brewed tea to bake spicy, sweet Chocolate Chai Tea Cookies. Guess what we did with them? We dipped them in coffee, like the rebels that we are. Step aside milk, coffee and tea are coming for you.
Believe it or not, there is a science behind dunking. Cookies taste better when dunked; it’s not in your imagination. Some cultures even apply rules to their dunking. In Australia “Tim Tam Slam” is a six-step process where dunking enthusiasts bite off the corners of their cookie, use it as a straw to slurp up their beverage of choice, and then pop the cookie in their mouth for ultimate consumption. Dunking dissolves the sugars of a cookie, releasing its flavor and softening the texture. It draws in the liquid so it’s easier and more pleasurable to eat.
The UK honors a “National Biscuit Dunking Day.” We looked into it and for all intents and purposes, what the English consider a ‘biscuit’ would be seen more as a cookie in the U.S. I’m sure you can find someone to argue this claim, but that’s a can of worms for another day. The holiday was born to make physics accessible by focusing on a cheerful subject matter. The founder of this holiday, physicist Len Fisher, was surprised by how quickly the day gained attention and popularity. Almost every UK newspaper celebrated, posting Washburn’s Equation, which explains capillary flow in porous materials. The science of dunking became a household subject matter.
Now that you have been graced with this life-altering, scientifically-proven epiphany, you can celebrate National Cookie Day in expert fashion. We’re not saying milk doesn’t have a place in the dunking world, we’re just saying it’s more of an accessory than an essential. I mean, you can’t argue with science, right? There goes coffee and tea, stepping in and upping the ante, once again.
Try this physics experiment out yourself with our favorite cookie recipe and your coffee or tea of choice and share your experience in the comments below!
Servings 3 -4 Dozen
Ingredients:
1 Cup Butter Softened
2 Cups Sugar
1/4 Cup Brown Sugar Packed
2 Eggs
1/4 Cup plus 2 Tbsp Old World Chocolate Chai Tea, strong brewed
¼ cup cocoa
4 Cups All Purpose Flour
2 Tsp Baking Powder
1/2 Tsp Salt
1 1/4 Cup Powdered Sugar
3 Tbsp Milk
2 Tsp Vanilla
Ground Cinnamon
Instructions
Begin by creaming the butter, adding in the cocoa, sugars, eggs, tea, and vanilla.
Add in the flour, baking powder, and salt, mixing well.
Chill the cookie dough in the fridge for 1-2 hours.
Preheat the Oven to 350*.
Roll the dough out on a floured surface and cut the round shapes. Place them on a greased cookie sheet about 2 inches apart.
Bake for 10-12 minutes then remove from oven and let cool before moving to a wire rack to complete cooling.
While the cookies are cooling combine the powdered sugar, milk, and vanilla in a small bowl.
Spread a little bit of the glaze on each cookie and add a dash of cinnamon.